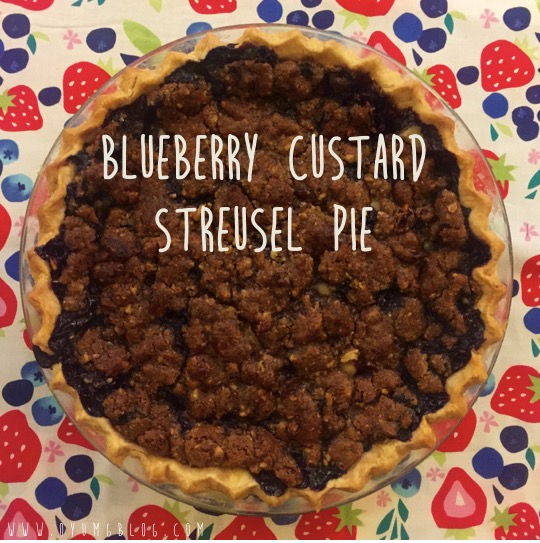
Blueberry Custard Streusel Pie
It's berry season and one of my favorites because of all the delicious ways you can use berries. I recently went blueberry picking and came home with a big bucket of blueberries. I ate some, froze a lot and baked with the rest!
I love making pie and what's better in the summertime than a blueberry pie? So I did a little research and settled on a blueberry custard streusel pie. I liked the idea of a custard-based pie as it would add a little more stability and flavor to the filling. And who doesn't love a crunchy, nutty, streusel? This was a delicious pie and a recipe that I'll keep on file for the next time I have a bucket of berries! The only change I would make is to blind bake the pie crust first to ensure a fully baked bottom (mine was slightly underdone).
Blueberry Custard Streusel Pie
adapted from The Girl Who Ate Everything
Crust
- 1 cup flour
- 1/2 salt
- 1/3 cup shortening
- 2 to 3 Tbsp cold water
Filling
- 1 cup sour cream
- 3/4 cup sugar
- 1 egg
- 2 Tbsp flour
- 2 tsp vanilla
- 1/4 tsp salt
- 2 1/2 cups fresh blueberries
Streusel Topping
- 1/2 cup brown sugar
- 1/3 cup flour
- 1/4 cup butter, softened
- 1/2 cup pecans, toasted & chopped
To make the crust, mix flour and salt in a large bowl. Add shortening and using fingers, work the shortening into the flour until resembles pea-sized crumbles. Add enough water to make the dough just come together. Turn out onto a floured surface and roll about 1/8th inch thick. Transfer to a pie plate and crimp crust as desired. Line the pie crust with a piece of foil and add ceramic pie weights or dried beans (these help keep the crust from creating bubbles and the sides from sliding down). Blind bake in a 425 degree oven on the middle rack for 15-20 minutes or until the crust is just turning golden. Remove the foil and weights and return crust for about 5 minutes or until the bottom of the crust looks dry. Remove from oven and let cool. Reduce oven temperature to 400 degrees.
While the crust is cooling, prepare the filling. In a large bowl, whisk together sour cream, sugar, egg, flour, vanilla and salt. Gently fold in the blue berries. Pour into the crust shell. Cover the edges of the crust with foil (to prevent burning) and bake for 25 minutes.
While the filling is cooking, prepare the streusel. In a small bowl, mix together brown sugar and flour. Work in softened better until you have coarse crumbles. Add in the chopped pecans. After the filling has baked for 25 minutes, top the pie with the streusel topping and return to oven for an additional 15-20 minutes or until the pie is set and the streusel is browned.
Let the pie cool for at least 15-20 minutes and serve warm or refrigerated and serve chilled. Enjoy!
BONUS!!
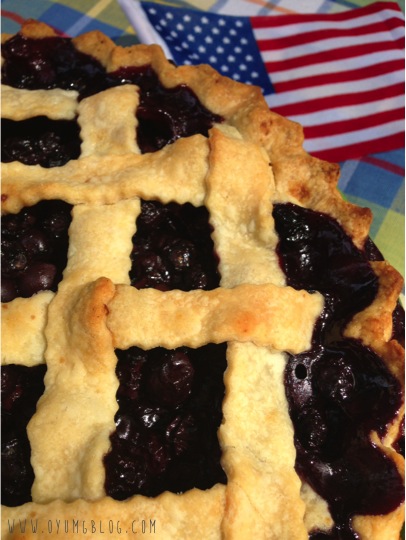
If you happen to have lots of blueberries like I did and want another pie-in-the-sky idea...here's another pie recipe! This recipe was featured on the cover of Southern Living a few years ago and it looked so tempting, I had to make it. The secret ingredients? Honey and balsamic vinegar! Though I would consider adding a splash or two more of the vinegar, as once the pie was baked, you couldn't really taste the balsamic - but you could taste that it was a tasty pie! And I can't resist the look of a beautiful lattice crust. Find the recipe here.