O-YUM-G

  • Blog
  • What's For TV
  • Gallery
  • About
  • Index

It's All Greek to Me - Part Two

May 11, 2014 by Libby Harrison

So in the previous post, we covered the baklava, which was just one part of the Greek-inspired meal I had planned for a friend's birthday celebration.

The other menu item I was eager to try was homemade pita bread.  It had always seemed way too complicated and just easier to buy at the grocery store.  Now, I've successfully made other kinds of bread many times before, but this had that whole mysterious air-pocket-in-the-middle thing going on.  But I ventured forth, confident that it would at least be edible (especially once slathered in hummus) even if it didn't make that magical air pocket.

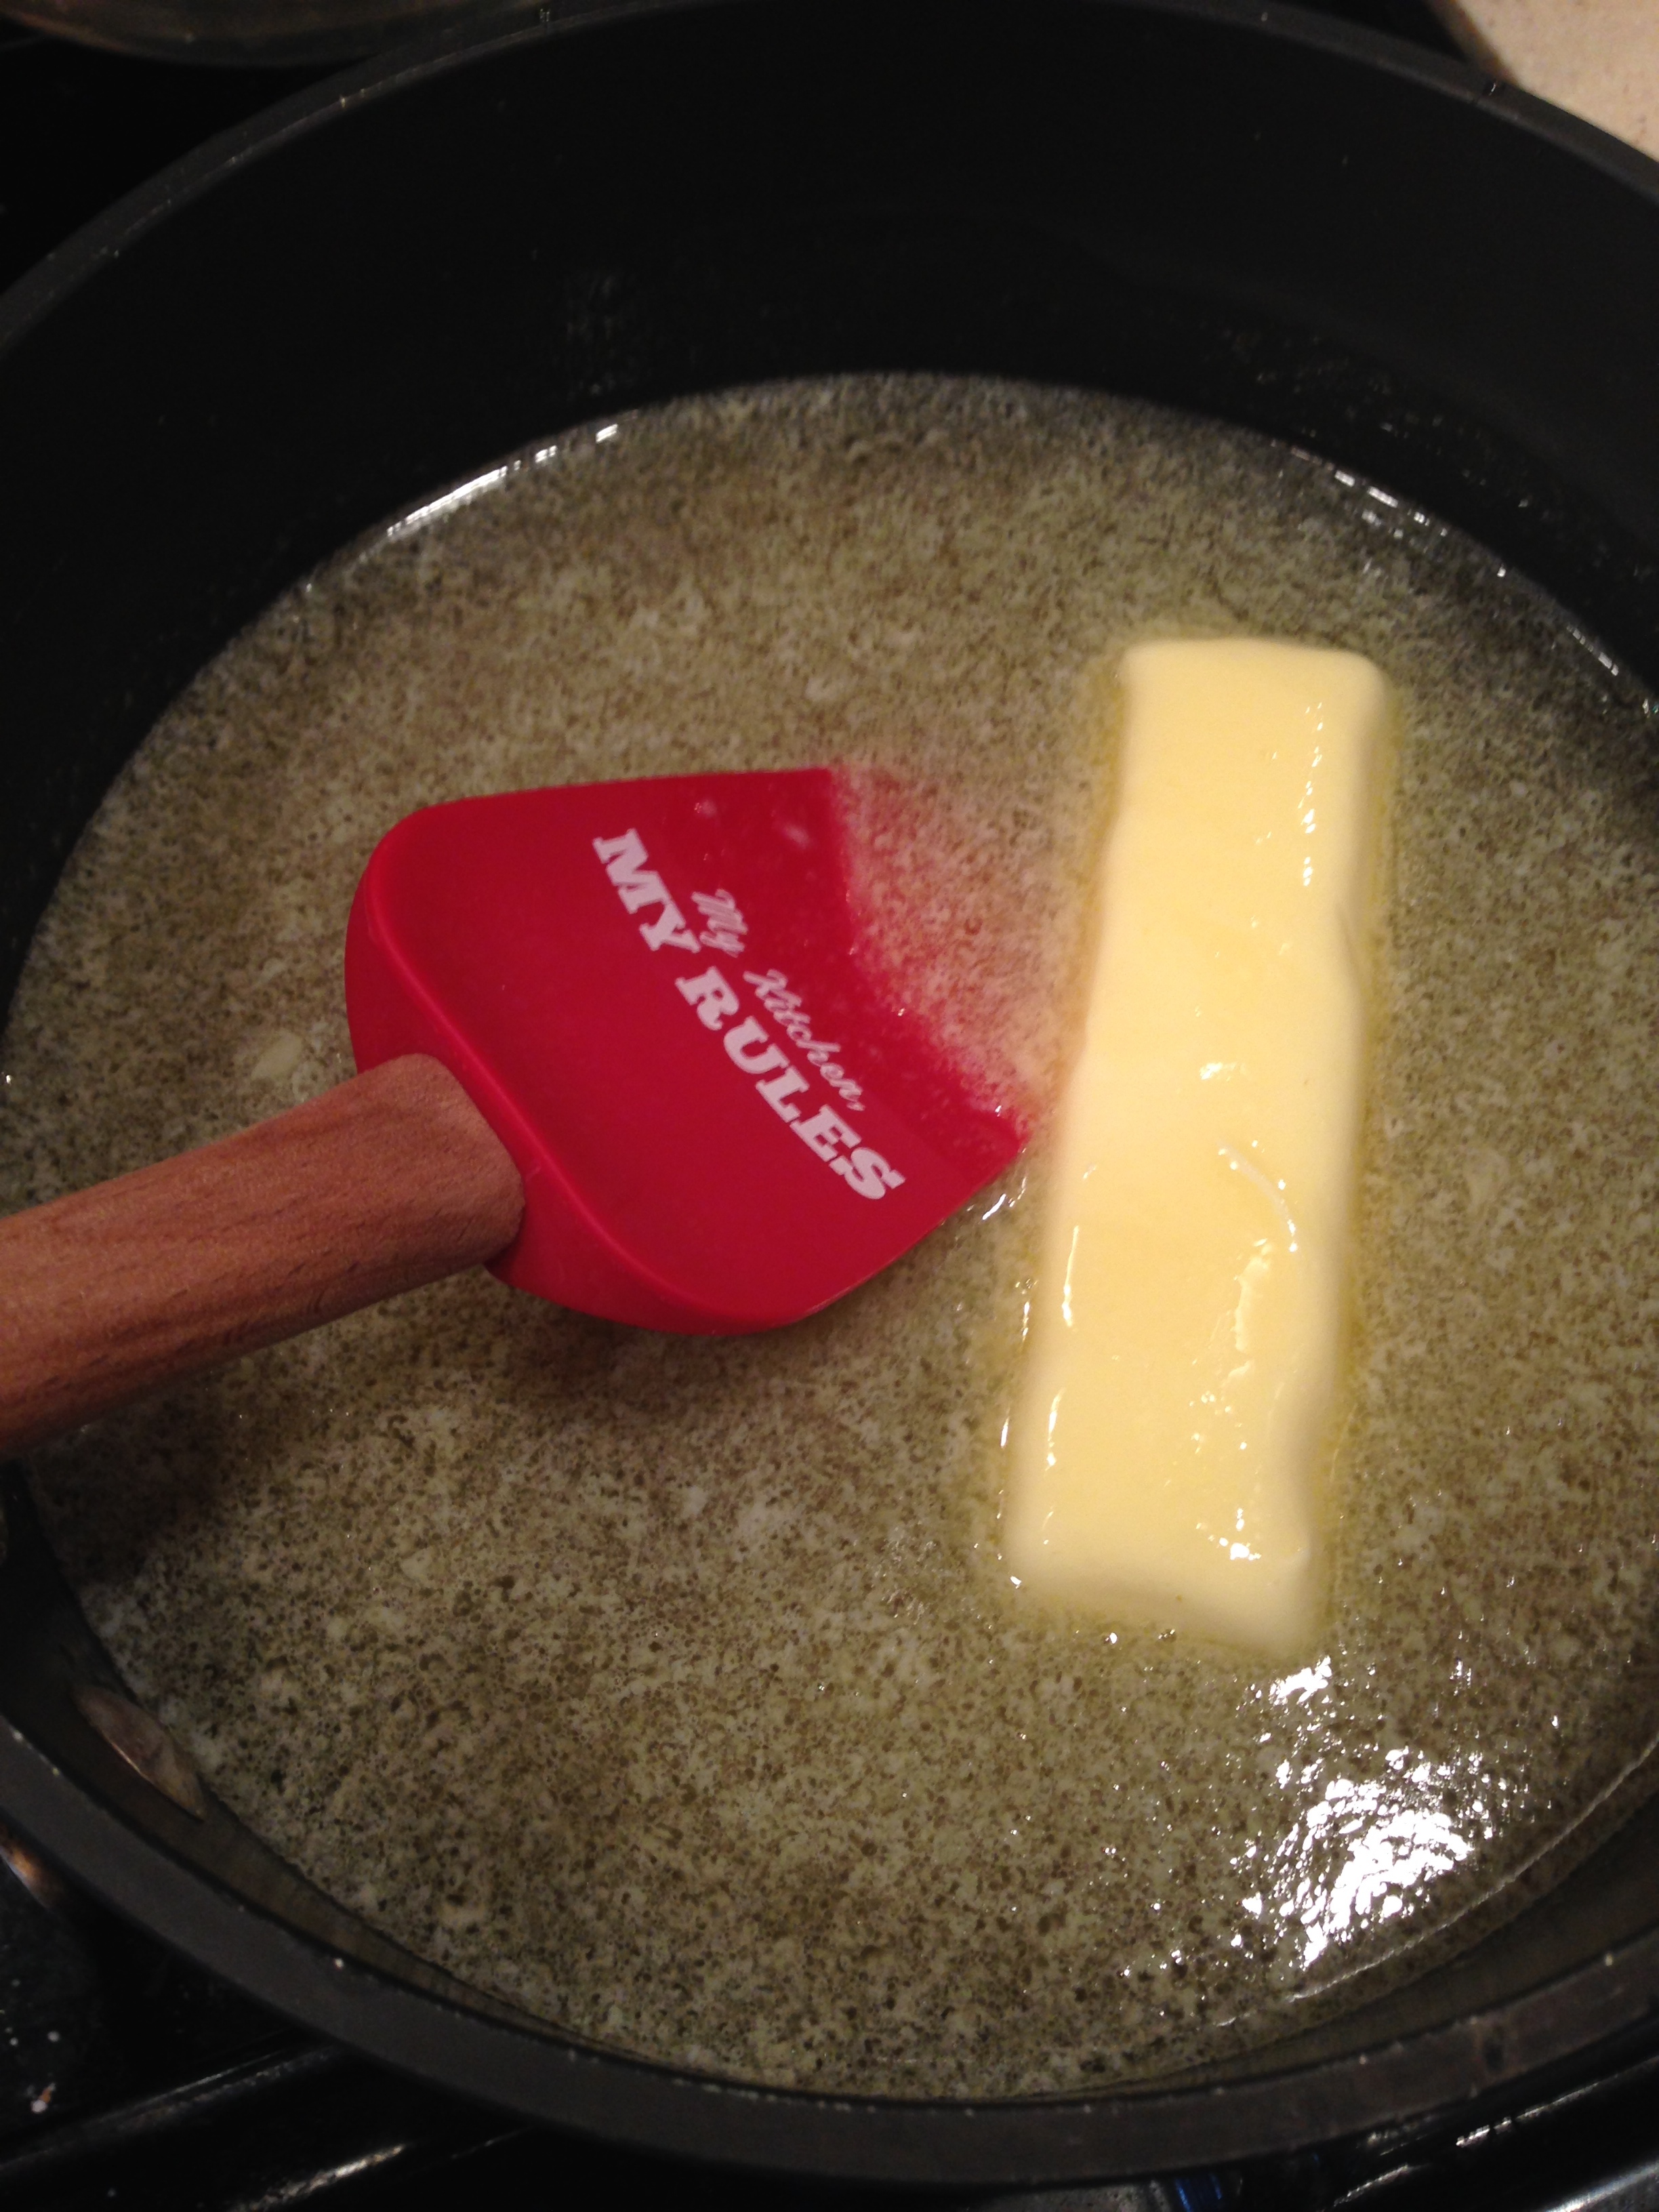
The ingredients for pita bread are about as simple as they come: flour, water, yeast, salt and olive oil.  That's it.  And the techniques for mixing and kneading the dough were all standard and echoed the instructions I learned from the "bread camp" I attended at King Arthur Flour two summers ago.  I kept going through the recipe and the steps waiting to find that special technique or secret step that would transform these little balls of dough into pita bread.

Well, it turns out there's no secret ingredient or technique.  The magic is all in the science and chemistry of baking.  I found this recipe from one of my go-to blogs TheKitchn, and they describe this magic the best:

What makes [pita] puff so impressively is the dual action of water turning to steam and the yeast becoming hyperactive when both are hit with the heat from the oven or stovetop. The pita has been rolled so thin that this action forces the top and the bottom of the dough to separate and balloon outwards.

Reading this description, it totally makes sense and sounds really cool.  But guys, wait until you see this in action. In your own oven.  I mean, turn on that oven light, call the kids (or the kids at heart), pop a squat and watch these discs of dough transform right before your eyes, all in less than three minutes.  When my first batch puffed up perfectly, I was truly giddy with delight. I had done it!  I was a sorceress of the kitchen!  (In reality, I had just followed directions and let chemistry do it's thing, but I still felt triumphant.)  It was at this point that my guests arrived, and they too, were completely enamored with how the pita puffed up in the oven with the subsequent batches.

So excitement of the process aside, these pita breads continued to wow once we took a bite.  By baking them in the oven on a baking stone, they get a nice crispy crust on the bottom, with the rest of the bread soft and pillowy.  The hints of olive oil and salt make these delicious on their own but also serve as the perfect platform to load up on hummus, chicken or whatever else you want.  They really were so easy to make that I may never buy store-bought pita bread again.

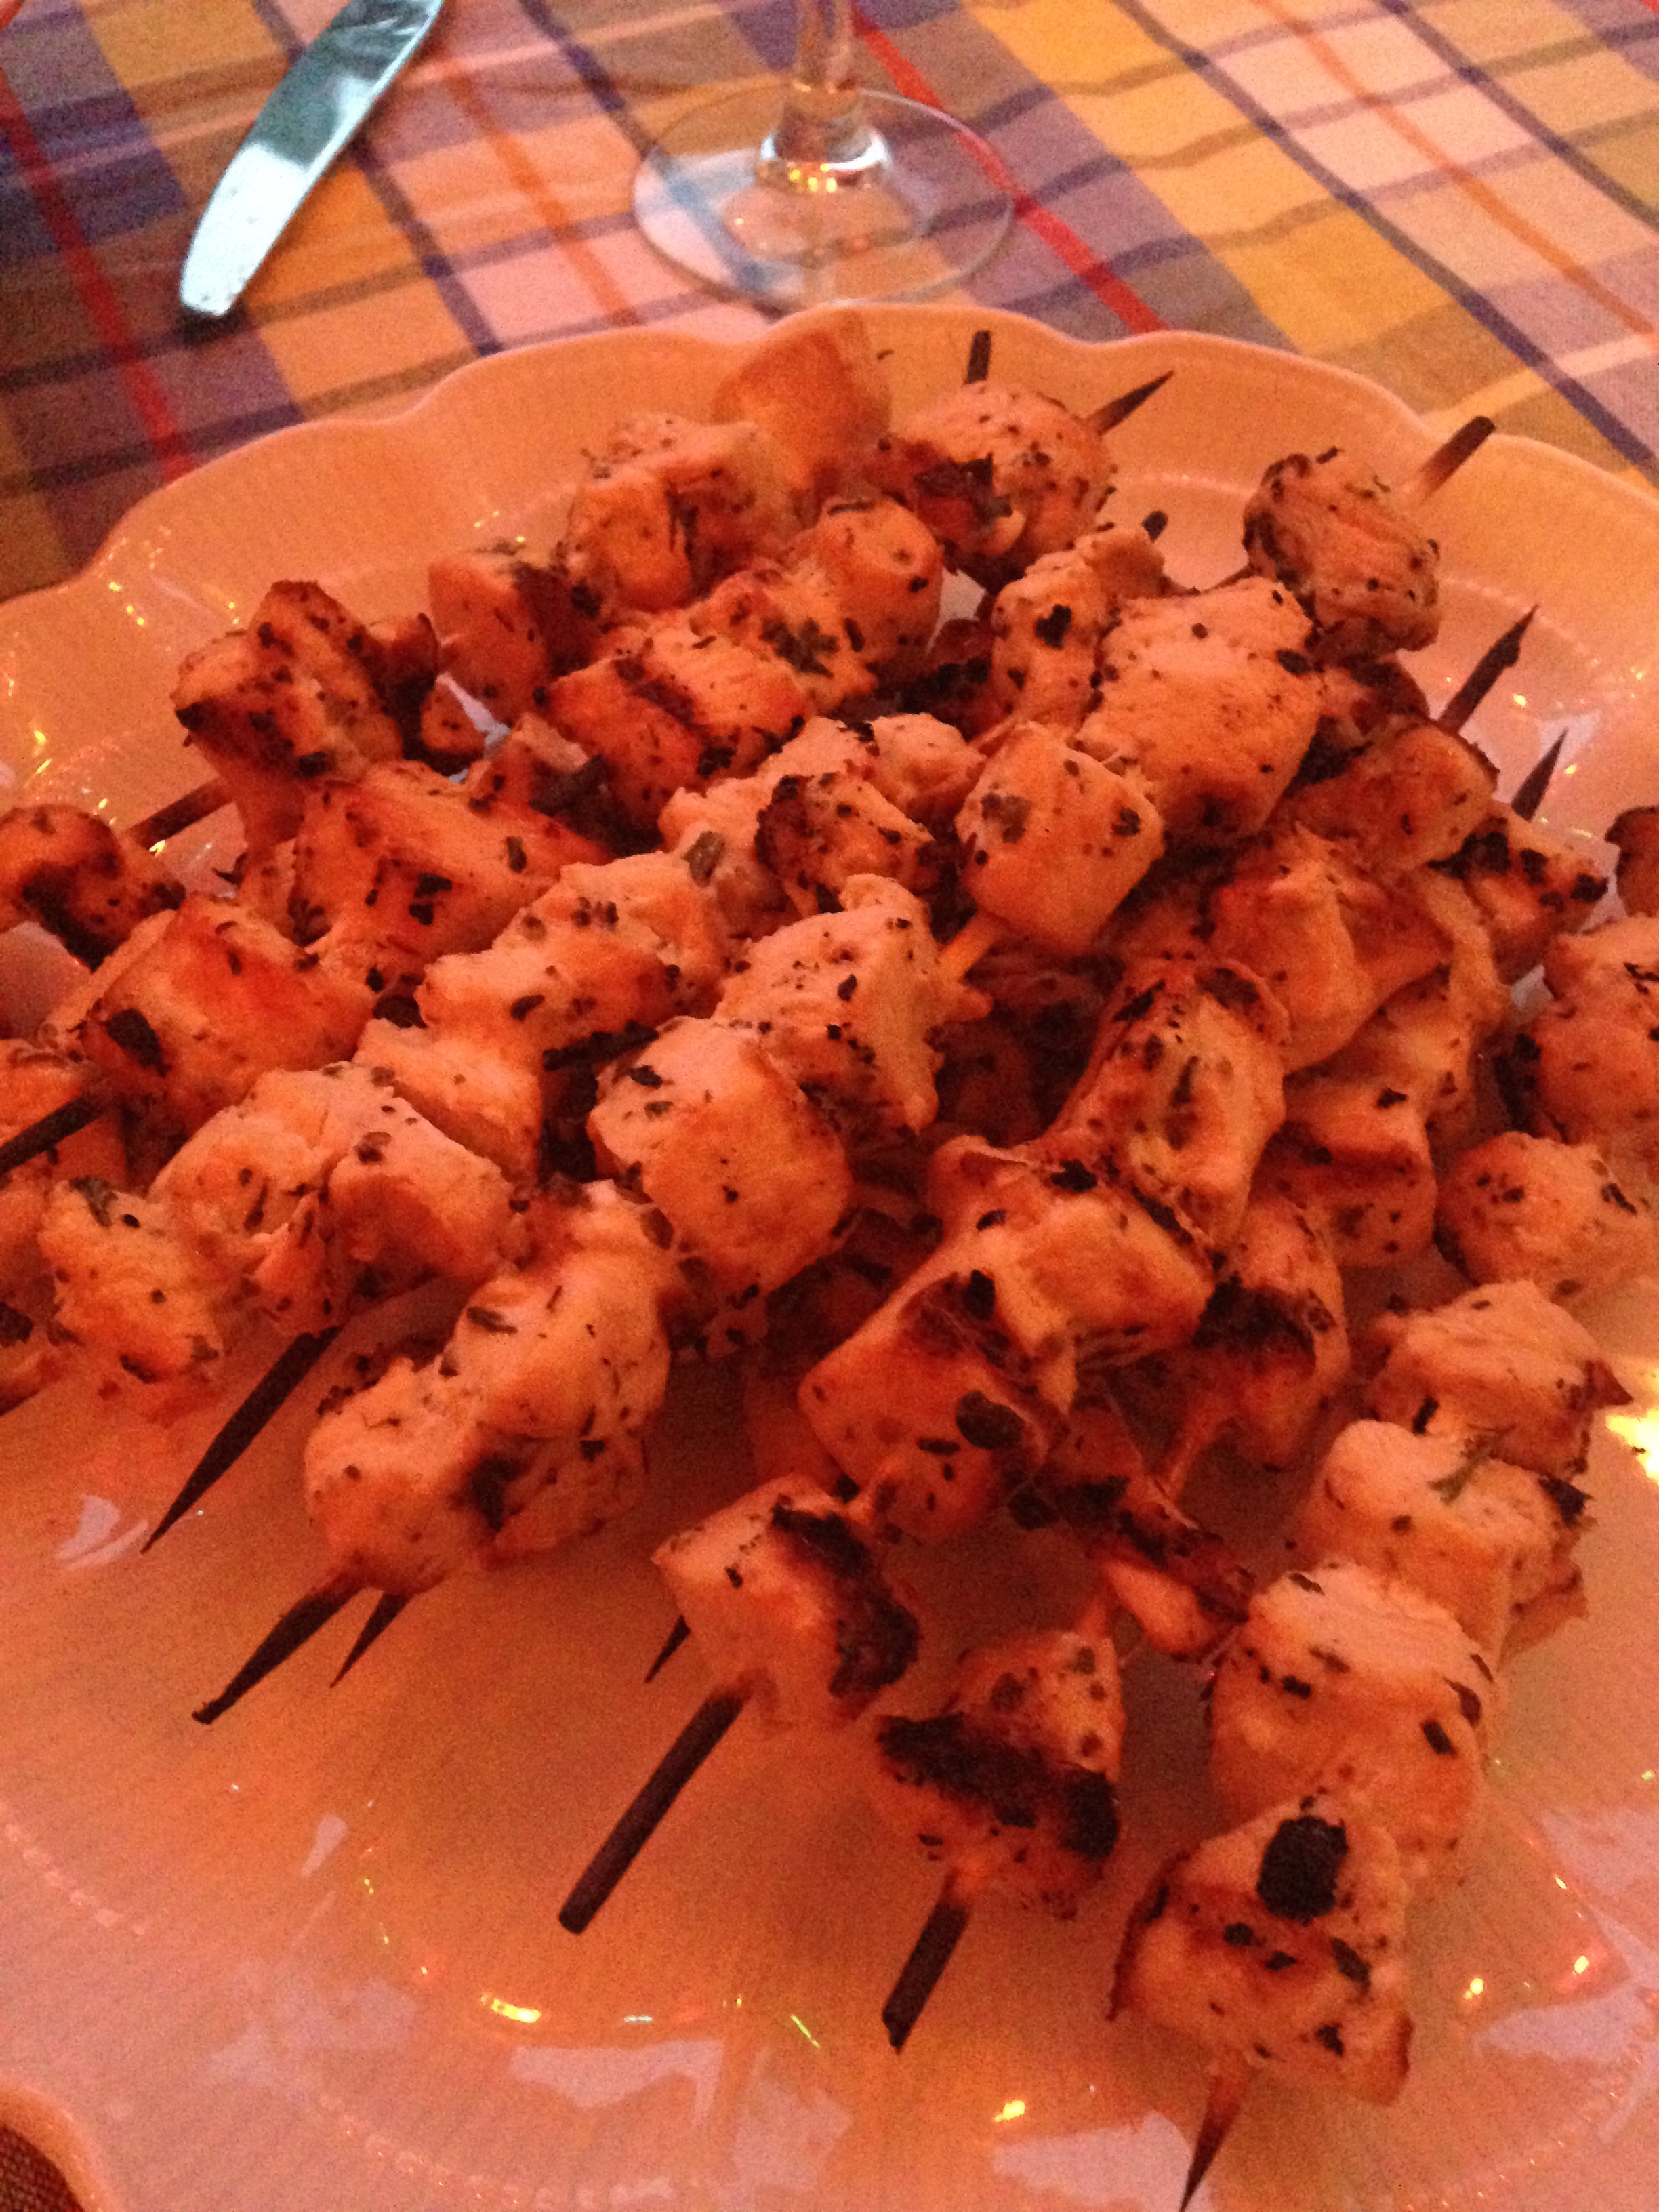
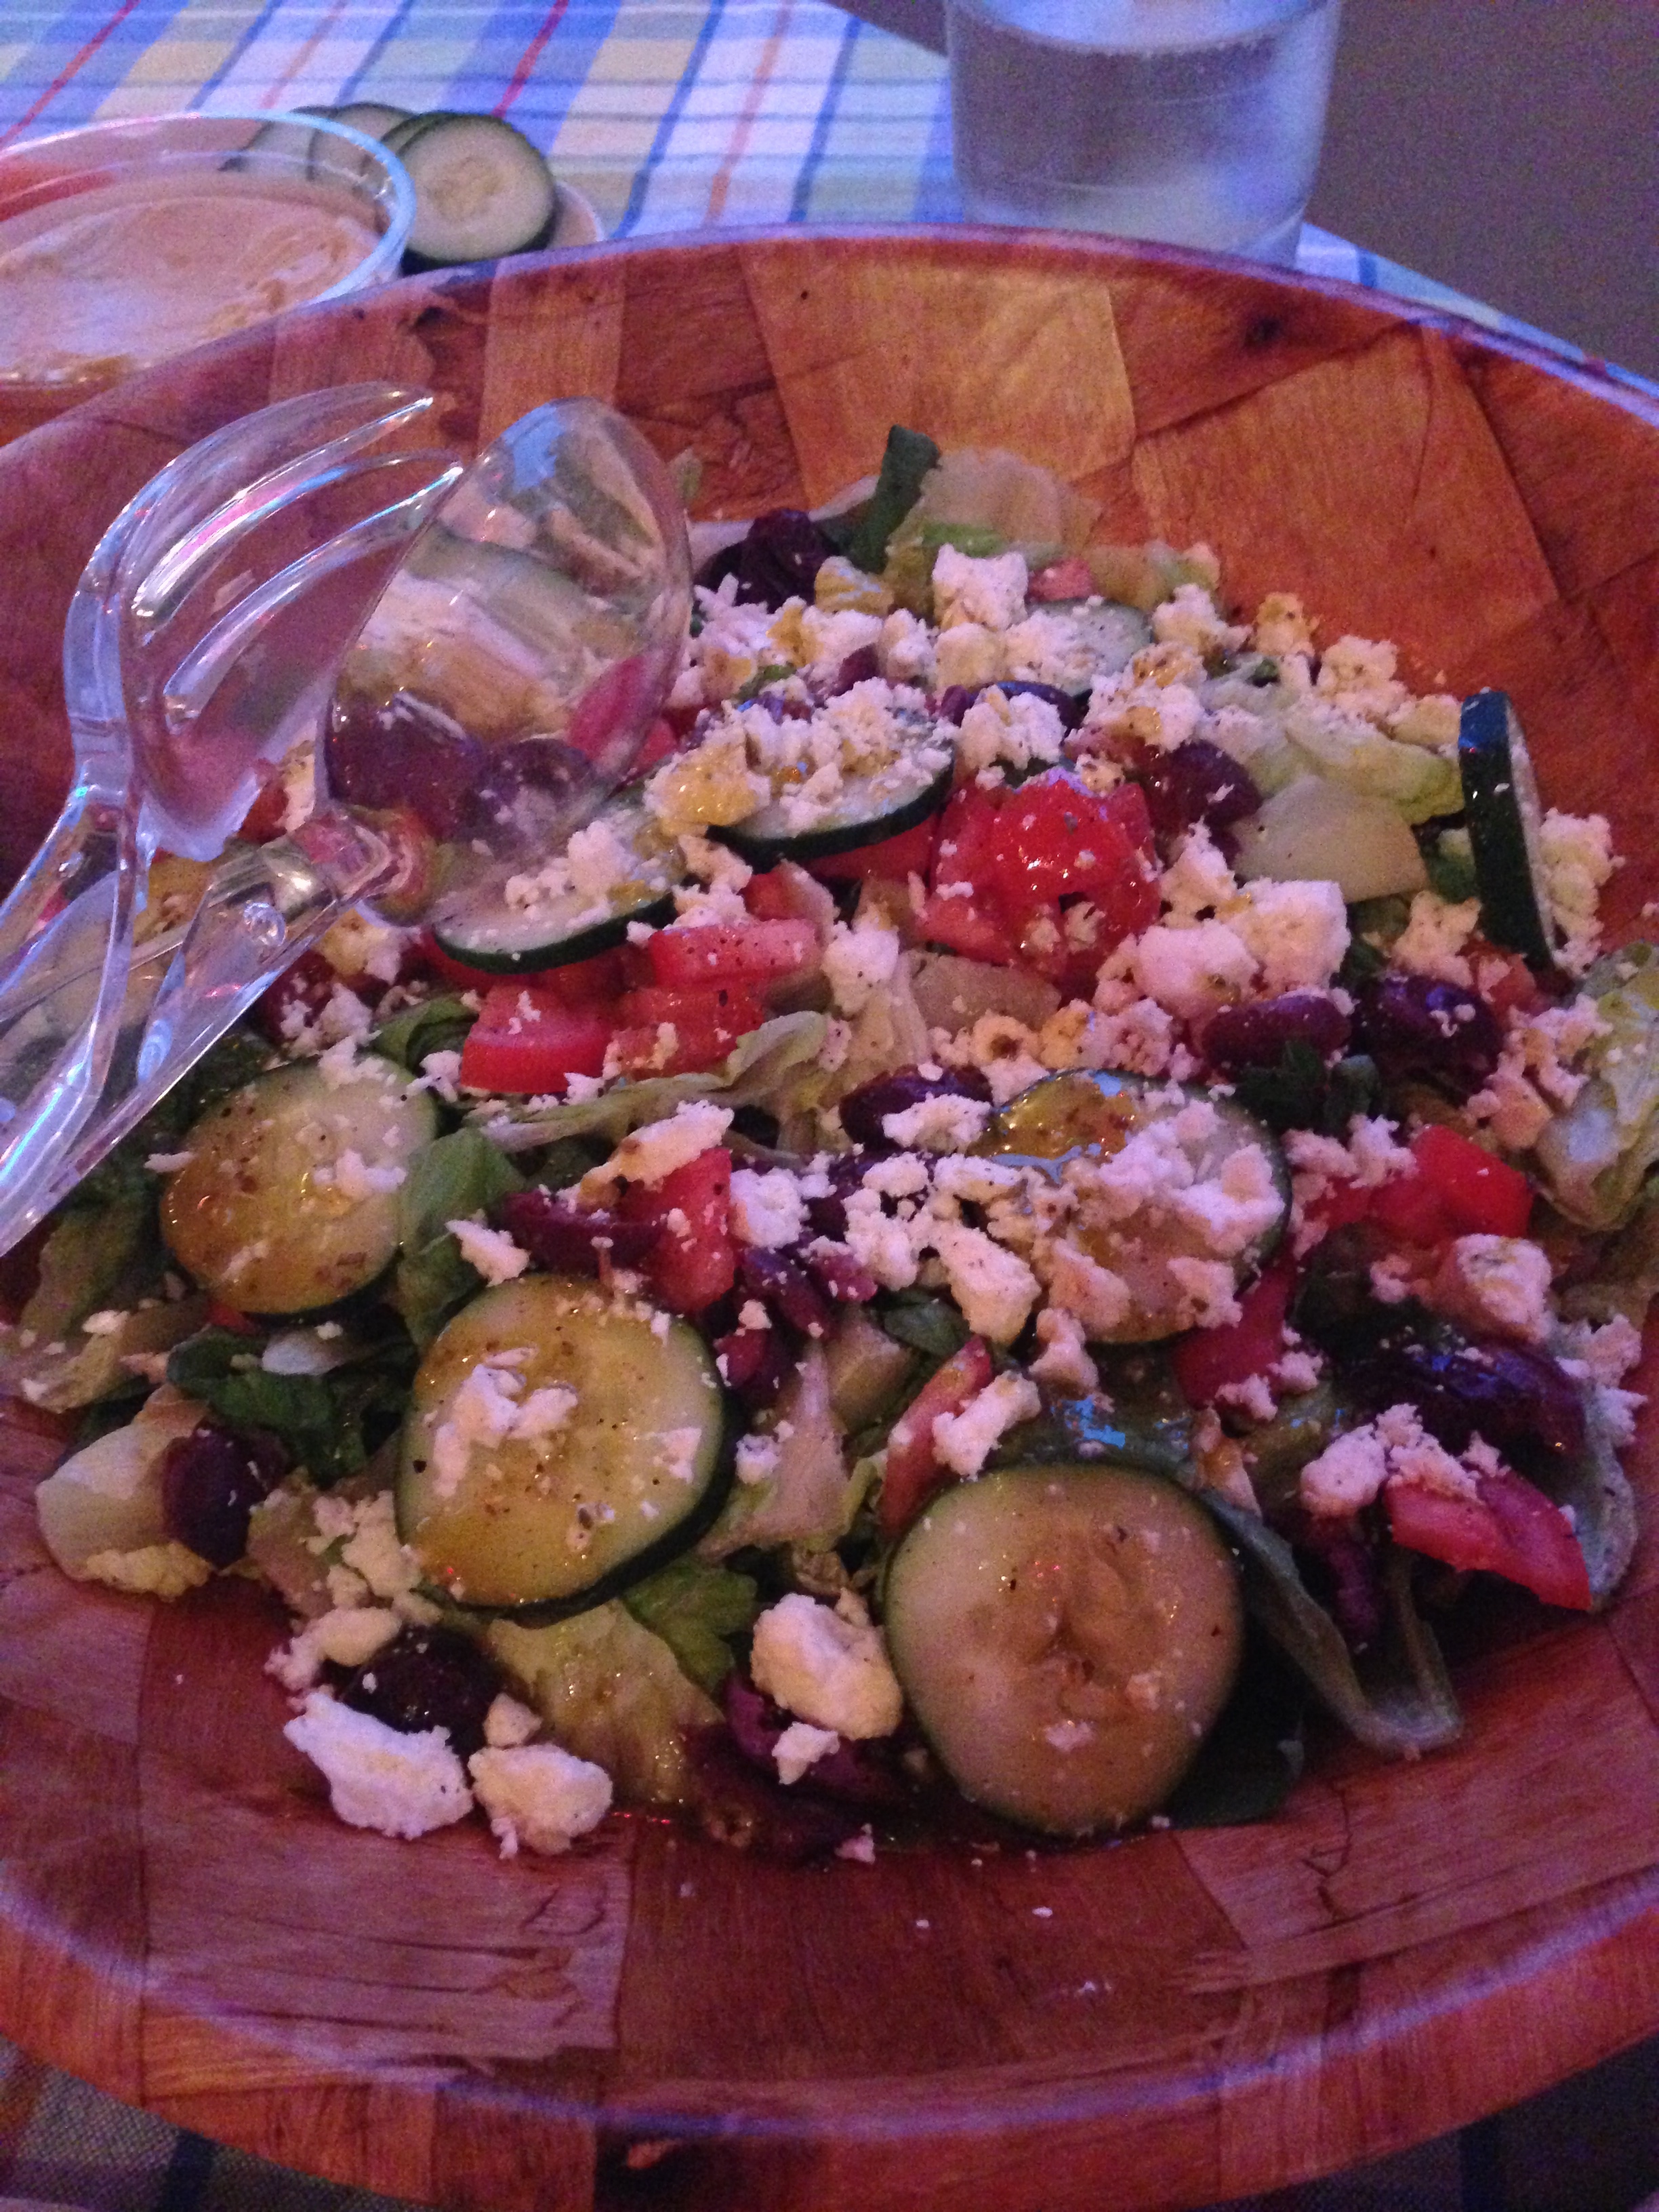
To complement the pita bread, I made chicken souvlaki (chicken marinated in olive oil, red wine vinegar, oregano, basil, parsley, garlic, salt and pepper) and a Greek salad (lettuce greens with tomato, cucumber, kalamata olives and feta cheese).  O-YUM-G!

HOMEMADE PITA BREAD

  • 1 cup warm water
  • 2 tsp active or instant yeast
  • 2 1/2 - 3 cups flour
  • 2 tsp salt
  • 1-2 tsp olive oil

In a large bowl, mix yeast and water.  Let sit 5 minutes or until yeast is dissolved.  Add 2 1/2 cups of flour (reserve the extra 1/2 cup for use when kneading), salt and olive oil.  Mix until a shaggy dough is formed.

Sprinkle some of the reserved flour onto a clean work surface. Scrape out the dough onto the work surface, setting the bowl aside, and knead for 5-7 minutes, until dough is smooth and elastic.  Use only enough flour to keep your the dough from sticking to your hands and work surface.  Return dough to the bowl and cover with lid or plastic wrap.  Let the dough rise in a warm, draft-free spot for 1-2 hours or until dough has doubled in size.

Preheat your oven 450 degrees. If you have a baking stone, place in the oven as you pre-heat.  If you don't, place a large baking sheet on the middle rack to heat.  Once the dough has risen, sprinkle some flour onto a clean work surface.  Gently deflate the dough and turn out onto your work area.  Divide the dough into 8-10 pieces.  With your hands, roll each piece of dough into a ball, then flatten. Using a rolling pin, roll out the balls of dough into thin, flat circles, about 5-7 inches in diameter and about 1/4 thick.  You may have to turn and flip your circles periodically to keep from sticking to your work surface and rolling pin.

Once the oven is at temperature, place the rolled out circles of dough directly onto the baking stone (as many as will fit).  Bake for 3-4 minutes.  The pita will start to puff up after a minute or two and will be done when it's fully ballooned.  Remove cooked pitas from oven and cover with a clean towel as you cook the remaining dough.

Pitas are best when eaten immediately after cooking.  Can be kept in an airtight bag for several days or they can also be frozen with wax paper between the layers for up to three months.

Note: Sometimes you'll get pitas that won't puff up.  Usually, that's because your oven wasn't hot enough. Make sure that you let your oven and baking stone get back up to temperature between batches after you've opened the oven.  Even still, I had some pitas that didn't fully puff up.  Don't worry, they're still just as delicious!

Yields 8-10 pita breads.

Recipe from TheKitchn

 chicken souvlaki skewers  greek salad  baklava!


May 11, 2014 /Libby Harrison
bread, Greek
Comment

It's All Greek to Me - Part One

May 11, 2014 by Libby Harrison in desserts

Happy Mother's Day!  It's been a celebration weekend for sure - honoring friends with graduations, friends with birthdays and of course, my mom and those who have been like a mom to me.  I'm now sitting on my sun porch enjoying the beautiful weather and the springtime chatter of the birds chirping, lawn mowers humming and kids laughing on the swingset.

One of the celebrations this weekend was for the birthday of a dear friend of mine.  It has become tradition with us to meet at our favorite Greek restaurant whenever we get together for dinner.  Since I was hosting at my house, I figured I would bring the Greek to us!  On the menu was chicken souvlaki, homemade pita, Greek salad and baklava.  None of which I had ever made before.  The pressure was on!

First up to make was the baklava.  I researched several recipes and settled on one by The Pioneer Woman.  Baklava, if you've never had it, is comprised of layers of flaky phyllo dough and nuts tossed in cinnamon with a sticky honey syrup mixture poured all over top.  Delicious!!

One of the main ingredients in baklava is nuts.  I've seen recipes that use walnuts, pistachios or pecans or some combination.  I chose to use equal amounts of pistachios and pecans, two of my favorite nuts.  A quick note about nuts - I have a steadfast rule that I always toast my nuts before adding to pretty much any recipe (savory or sweet).  Toasting brings out the flavor of the nut and also gives it a crispy texture.  Trust me, it's worth the extra step.

So after the nuts are toasted, pour them into the bowl of a food processor and add in some cinnamon and pulse the nuts a few times until they are evenly chopped into small bits.  Then set that aside.

Phyllo (FEE-loh) dough, which can be found in the frozen desserts section, comes in boxes with two packages of dough.  You'll only need one package for the baklava.  You'll also want to the thaw the dough in advance.  Either place in the refrigerator the night before, or if you forget (like I did), you can let it thaw on the countertop for a couple of hours.  A quick word on phyllo dough - it's a very thin and paper-like dough and dries out very quickly.  It's important to keep any dough you're not working with, covered in plastic and then a damp cloth on top.

Before we start working with the phyllo, we need to melt some butter so we have it at the ready.  Now that everything is in place, take two sheets of the phyllo dough and place on a clean surface. (Remember to cover the remaining dough with plastic and the damp cloth!) Brush the melted butter on top of the top layer of dough and then place in a greased 9x13 pan, buttered side down.  Grab another two sheets of dough, butter the top layer and place in the pan, again, buttered side down.  Repeat this process again; you'll now have six total layers of dough (three of them buttered).

Bring over that bowl of nuts and grab a good handful or two of nuts and sprinkle evenly over the phyllo dough.  Take another two sheets of phyllo dough, butter the top layer, place in pan (buttered side down) and again sprinkle nuts over the top.  Repeat this process until you've used up all the nuts.  Then, just as we did in the beginning, top with six sheets of dough, adding in batches of two, with the top layer buttered.  Brush a final coat of butter over the top.

Before we bake, we need to pre-cut the baklava with a sharp knife.  Traditionally, baklava is cut on the diagonal to make diamond shaped pieces.  If this is too fancy for you, you can always cut into traditional squares.

Bake the baklava in a 350 oven for 45 minutes or until a deep golden brown.

While the baklava is baking, we need to make the honey syrup-y nectar of the gods mixture. This is a crucial part of the baklava - it's the source of a lot of the flavor and all the sticky sweetness.  In a saucepan, combine butter, honey, sugar, water and vanilla until it comes to a boil.  Reduce to low and let simmer for about 10-15 minutes.  Remove from heat and set aside until the baklava is done baking.

Once the baklava is done baking, drizzle the honey syrup all over the top and let it seep into all the nooks and crannies.  Then comes the hardest step...waiting for it to cool!  It's actually very important to let it sit uncovered for several hours so that the honey syrup can set and all the flavors meld together.

I was able to follow these directions and wait to dig into the baklava until my guests had arrived (but man, it was hard).  During the evening, I learned that one of my friends had studied abroad in Greece and she said this baklava reminded her of the ones that her host mother would make.  Wow....such high praise!  

I ended up making a few modifications from the original recipe.  First, I toasted the nuts.  Second, I increased the cinnamon from 1 tsp to 1 Tbsp.  Lastly, I reduced the amount of honey from 2 cups to about 1 1/2 cup (a 12 oz bottle). I think these changes allowed for each of the ingredients to distinctly shine through without overpowering the others.  O-YUM-G!

Here's the full recipe:

BAKLAVA

For the nut/phyllo layers:

  • 2 cups pistachios
  • 2 cups pecans
  • 1 Tbsp cinnamon
  • 6 Tbsp butter, melted
  • 1 package phyllo dough, thawed

For the honey syrup mixture:

  • 1 stick of butter
  • 12 oz bottle honey (approx. 1 1/3 cup)
  • 1/2 cup sugar
  • 1/2 cup water
  • 1 Tbsp vanilla

Toast nuts and place in bowl of food processor with the cinnamon.  Pulse a few times until evenly chopped into small bits.  Set aside.

Melt the butter.  Take two sheets of phyllo dough and place on a clean surface. (Remember to cover the remaining dough with plastic and the damp cloth!) Brush the melted butter on the top layer of dough and place in a greased 9x13 pan, buttered side down.  Grab another two sheets of dough, butter the top layer and place in the pan, again, buttered side down.  Repeat this process again; you'll now have six total layers of dough (three of them buttered).

Sprinkle a handful or two of nuts evenly over the phyllo dough.  Take another two sheets of phyllo dough, butter the top layer, place in pan (buttered side down) and again sprinkle nuts over the top.  Repeat until all the nuts are used.  Top with six sheets of dough, adding in batches of two, with the top layer buttered.  Brush a final coat of butter over the top.

Pre-cut the baklava with a sharp knife into either diamonds or squares

Bake the baklava in a 350 oven for 45 minutes or until a deep golden brown.

While the baklava is baking, combine butter, honey, sugar, water and vanilla in a saucepan until it comes to a boil.  Reduce to low and let simmer for about 10-15 minutes.  Remove from heat and set aside until the baklava is done baking.

Once the baklava is done baking, drizzle the honey syrup all over the top and let it seep into all the nooks and crannies.  Let sit uncovered for several hours.

Yields 24 pieces.

Recipe adapted from The Pioneer Woman

May 11, 2014 /Libby Harrison
dessert, Greek
desserts
Comment

Powered by Squarespace