
King Arthur Flour Bake-cation: Day 2
Today started with another full agenda: more puff pastry work, Bavarian cream, parfaits, Sacher tortes and pastry cream. If some of that sounded like I was speaking another language, don't worry, keep reading and all will be explained!
Yesterday, we made the dough portion of our puff pastry - the "le detrempe." Today it was time to make our butter block - the "le beurrage." We started off by using a European butter - which has a higher fat content (about 83%) than regular butter. Butter is made up of two things: fat and water. When you bake with butter, the fat melts and the water becomes steam, which creates rise, or the "puff" (hence, puff pastry). It's essentially your leavener, whereas in cakes you might rely on meringue (as we did yesterday with the chiffon cake) or using a chemical agent, like baking powder. But you want to get just the right amount of puff - so for puff pastry, it's important to use European butter, because it has higher fat content, thus a lower amount of water and it results in giving you just the right amount of steam.

European butter - has a higher fat content and is optimal for puff pastry
We measured out our butter and then began beating it down into a four by four inch square. This is rather fun to do - especially if you've had a bad day and need to let out some aggression!

A perfect 4x4 inch butter block!
Next, we rolled out our dough just large enough so that we could fold it over our butter block and fully encase it, like an envelope.

Enveloping the butter block with dough

A perfect puff pastry dough package - no butter peeking out anywhere!
Then it was time to start making the puff pastry magic. The way that puff pastry gets its layers is through a process of rolling out the dough, folding it on top of each other and repeating at least 4 times. At the beginning, we had three total layers: dough, butter and dough. Once we started folding and rolling it out, the layers grew exponentially. Most classic puff pastries get almost up to a thousand layers!
When starting out, we learned it's important for the dough and the butter to be about the same temperature and consistency. Think back to when you've tried to spread cold butter on a piece of bread - basically, it doesn't spread and you end up tearing the bread. Same principle applies here. By having the dough and butter at the same temperature, they play along with each other very nicely. To help tenderize the cold butter and make it more pliable (without making it warmer), we learned to firmly tap on top of the dough package with our rolling pin to help soften things up before starting to roll it out.
Once it was a bit more pliable, we rolled the dough out into a long rectangle with a short side closest to us. Then folded it into thirds (top folded down and then bottom folded up), turned the dough so that the short end was again closest to us and rolled it out again. Then we folded it one more time into thirds. By this time, the butter had gotten too soft to keep working with it, so the pastry went back into the fridge to chill.

First rolling out of the dough to 8 x16 inches
Here's my dough after two single folds (two rounds of rolling out and folding like a business letter). At this point, we have 19 layers!

After the second fold - 19 layers of doughy, buttery goodness!
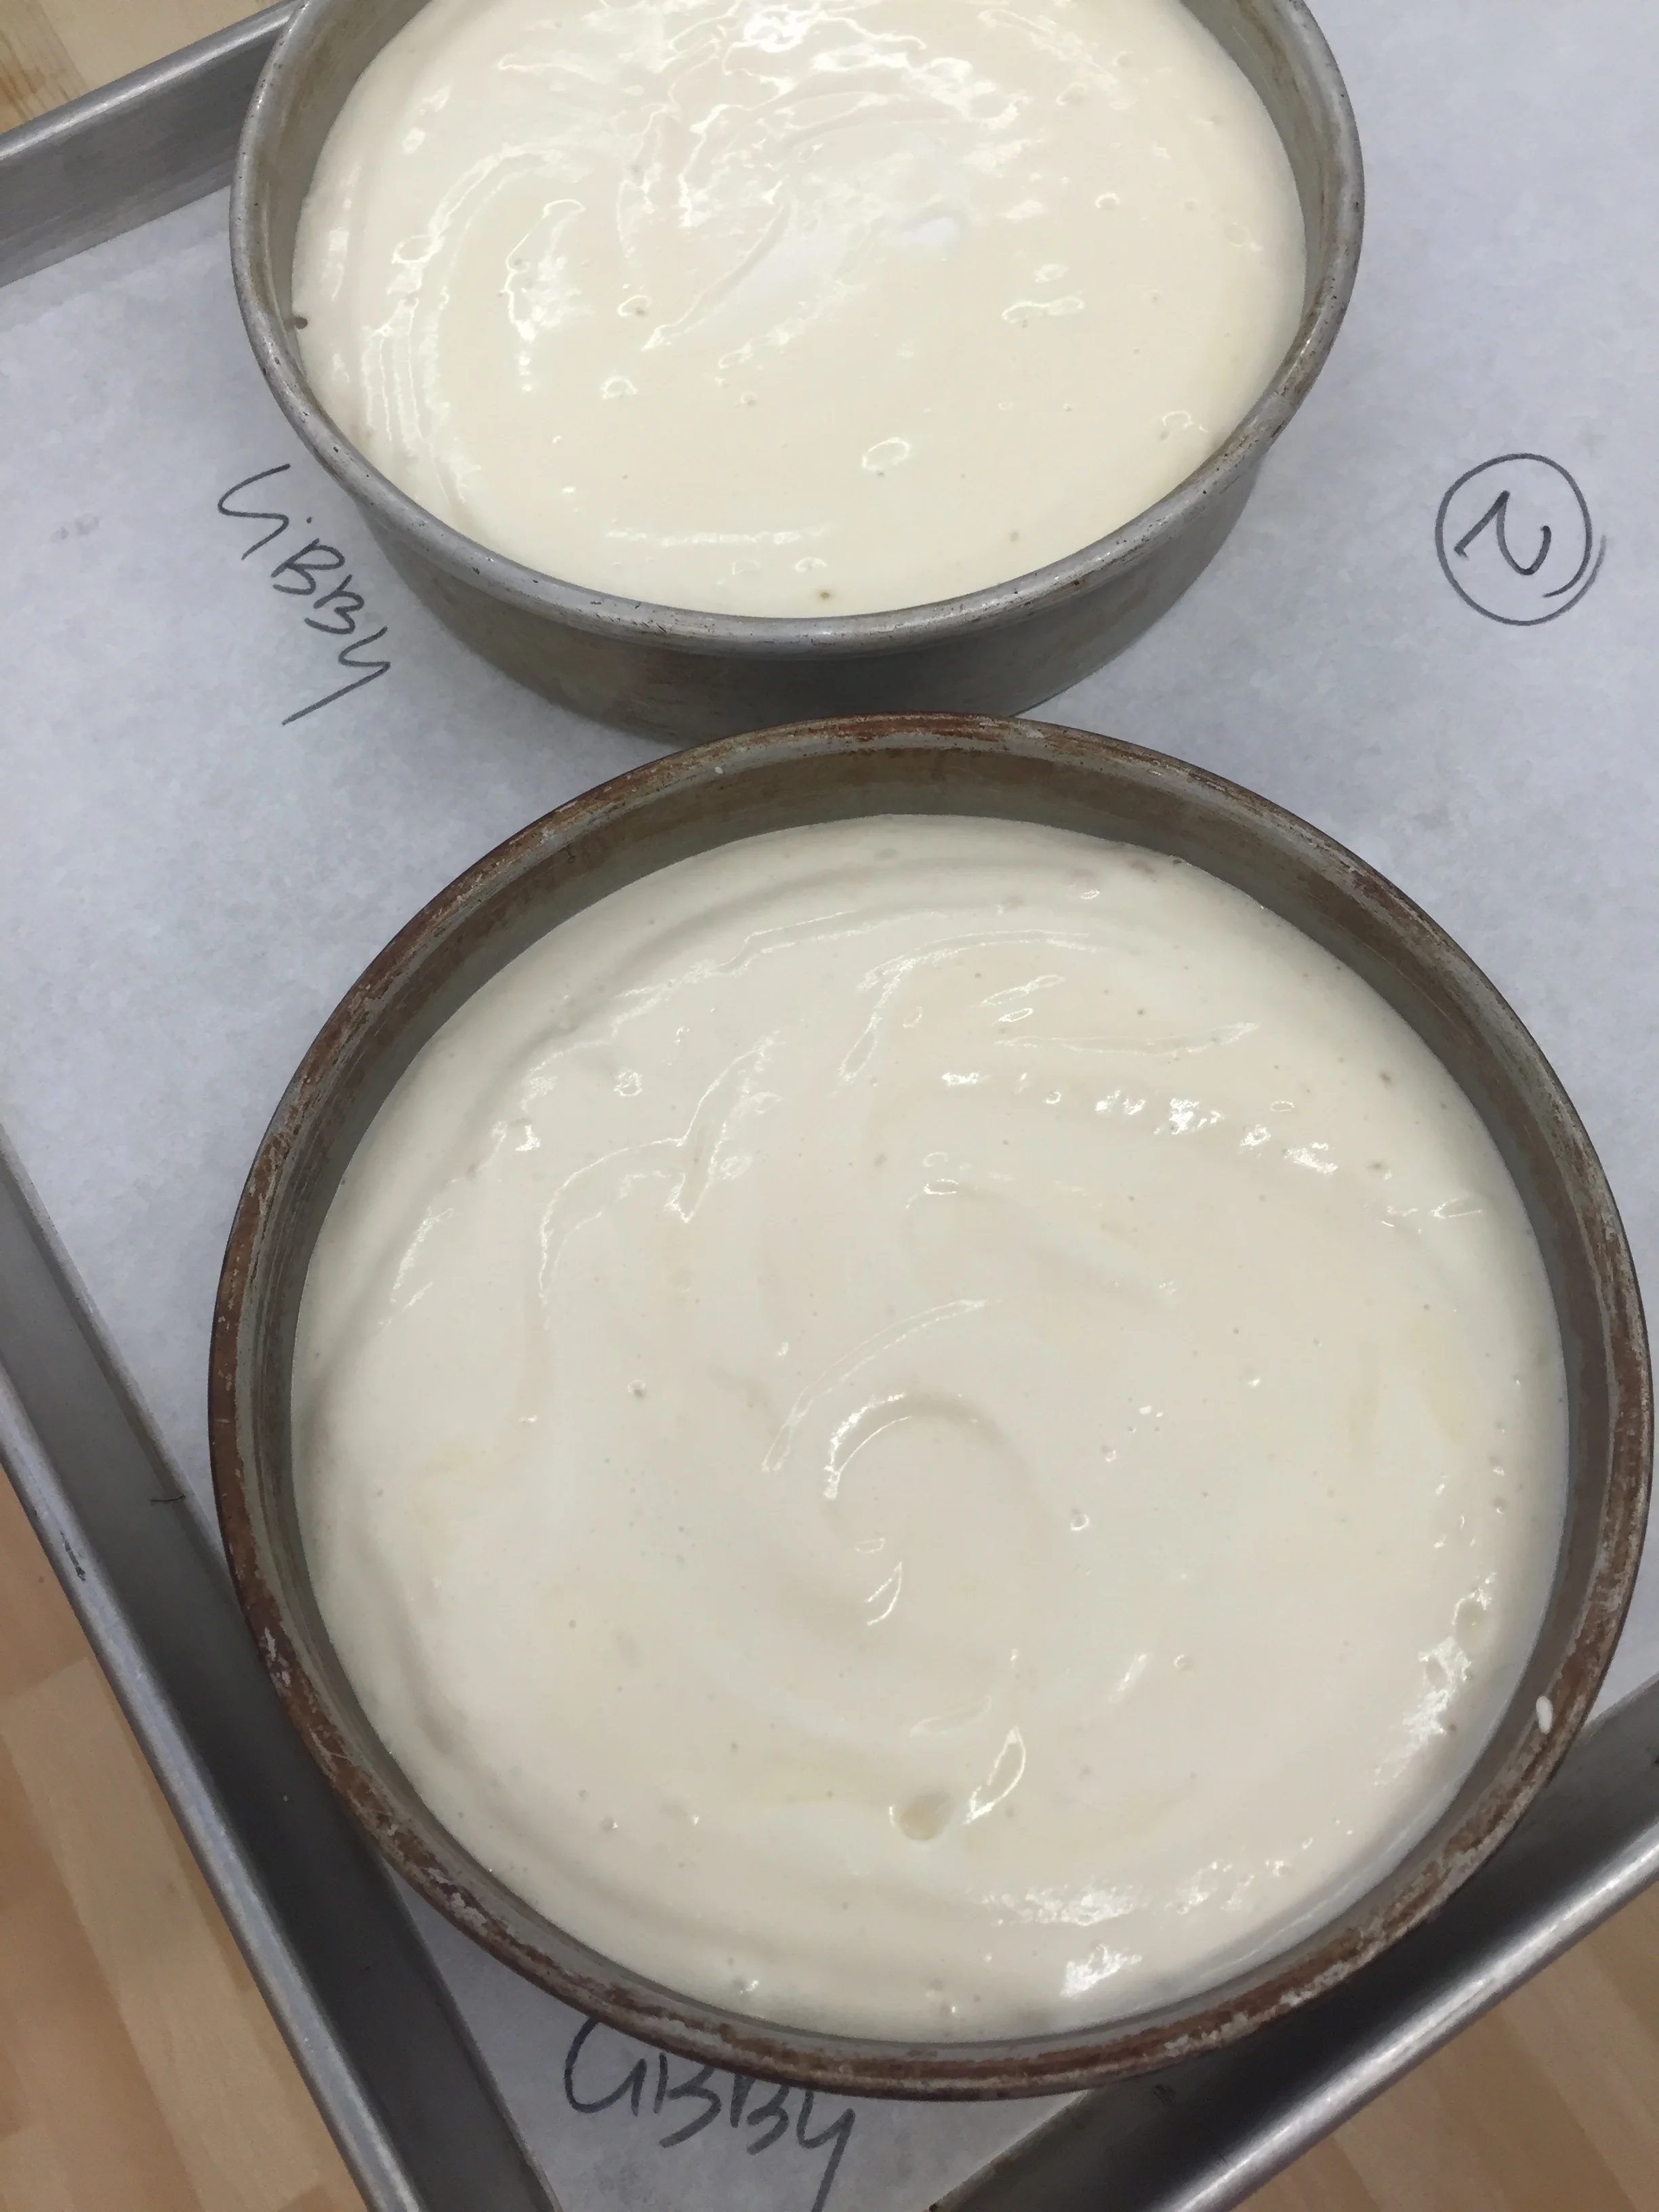
While our puff pastry dough was chilling, we turned to the chiffon cakes we made yesterday. It was time to take them out of the pan and cut one of the cakes into small cubes. The other cake is being set aside for us to work with on Day 4.
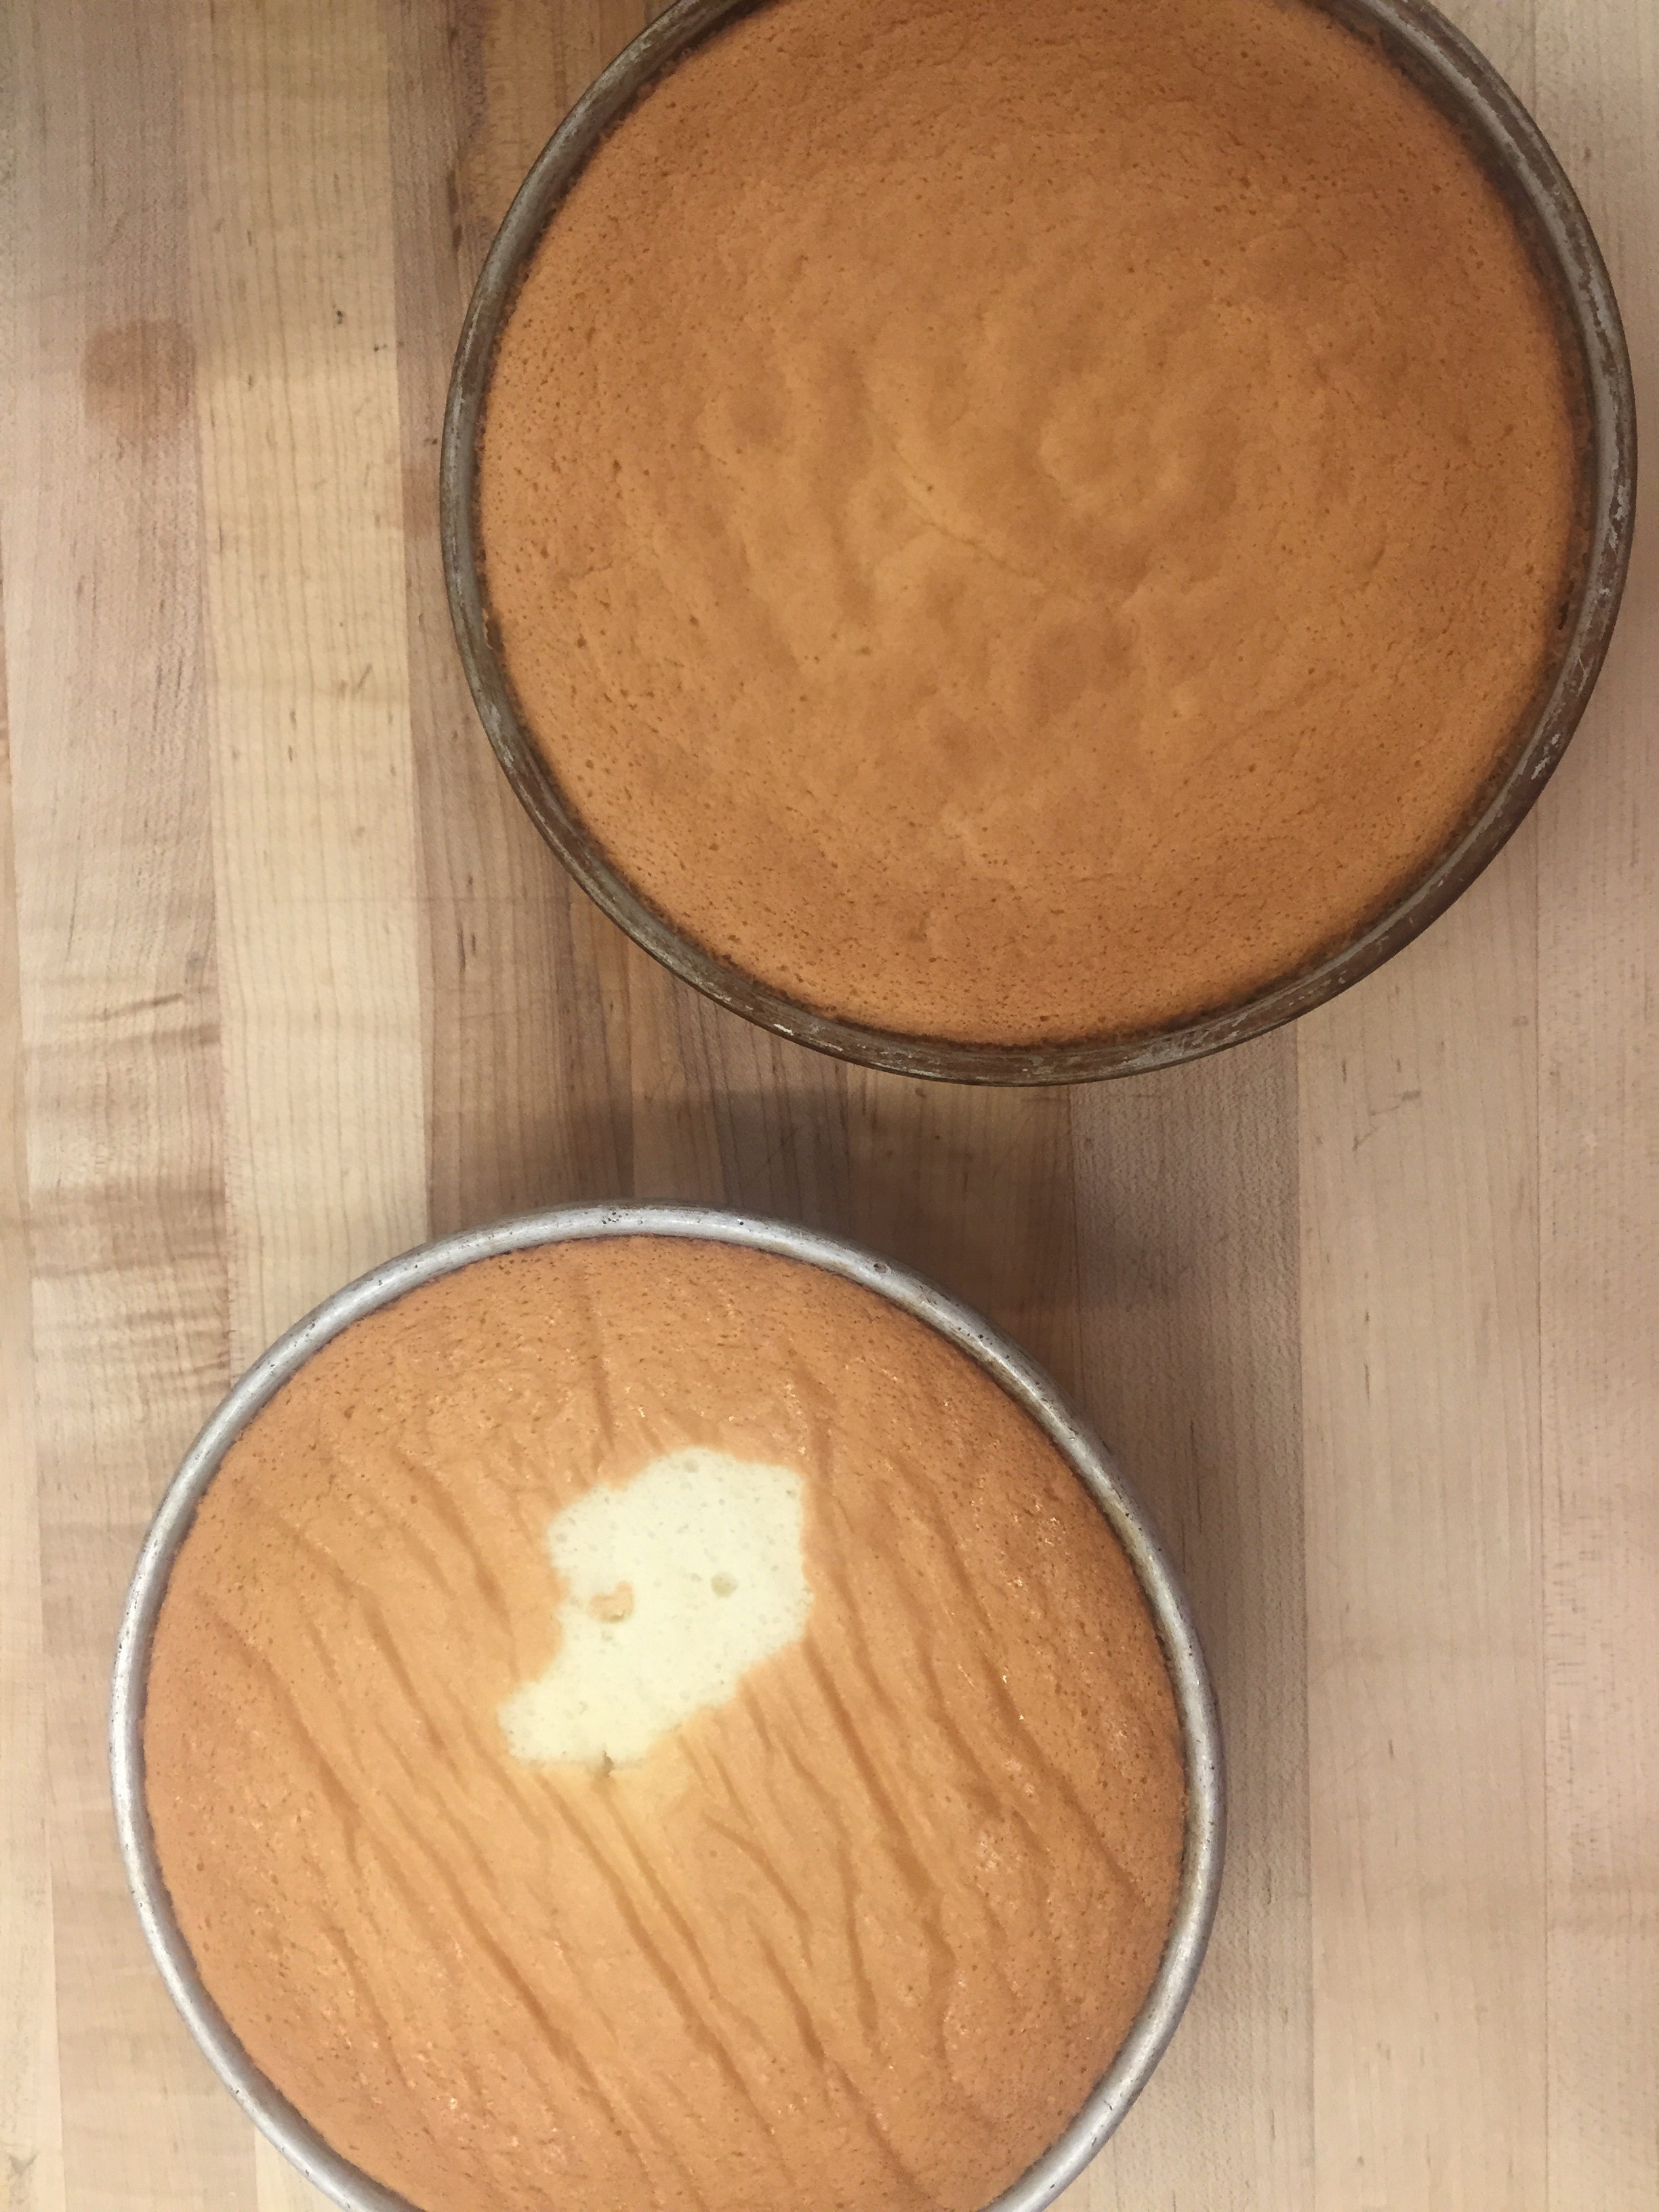
Two chiffon cakes, ready for duty!

Cubes of chiffon cake for Bavarian cream parfaits
Once we had our cake cut into cubes, we focused on making our Bavarian cream. This is a mousse-like cream that is thickened with gelatin vs. corn starch or egg. We also added some fresh fruit puree to the mixture to give it a great flavor. Then we built individual parfaits layering cubes of chiffon cake with raspberry or mango puree and throwing in some fresh blueberries as well. I don't think they look the prettiest - nor did they seem to taste super great. But once they had a chance to set up in the fridge, the flavors really gelled together and this was quite the delightful and refreshing dessert.
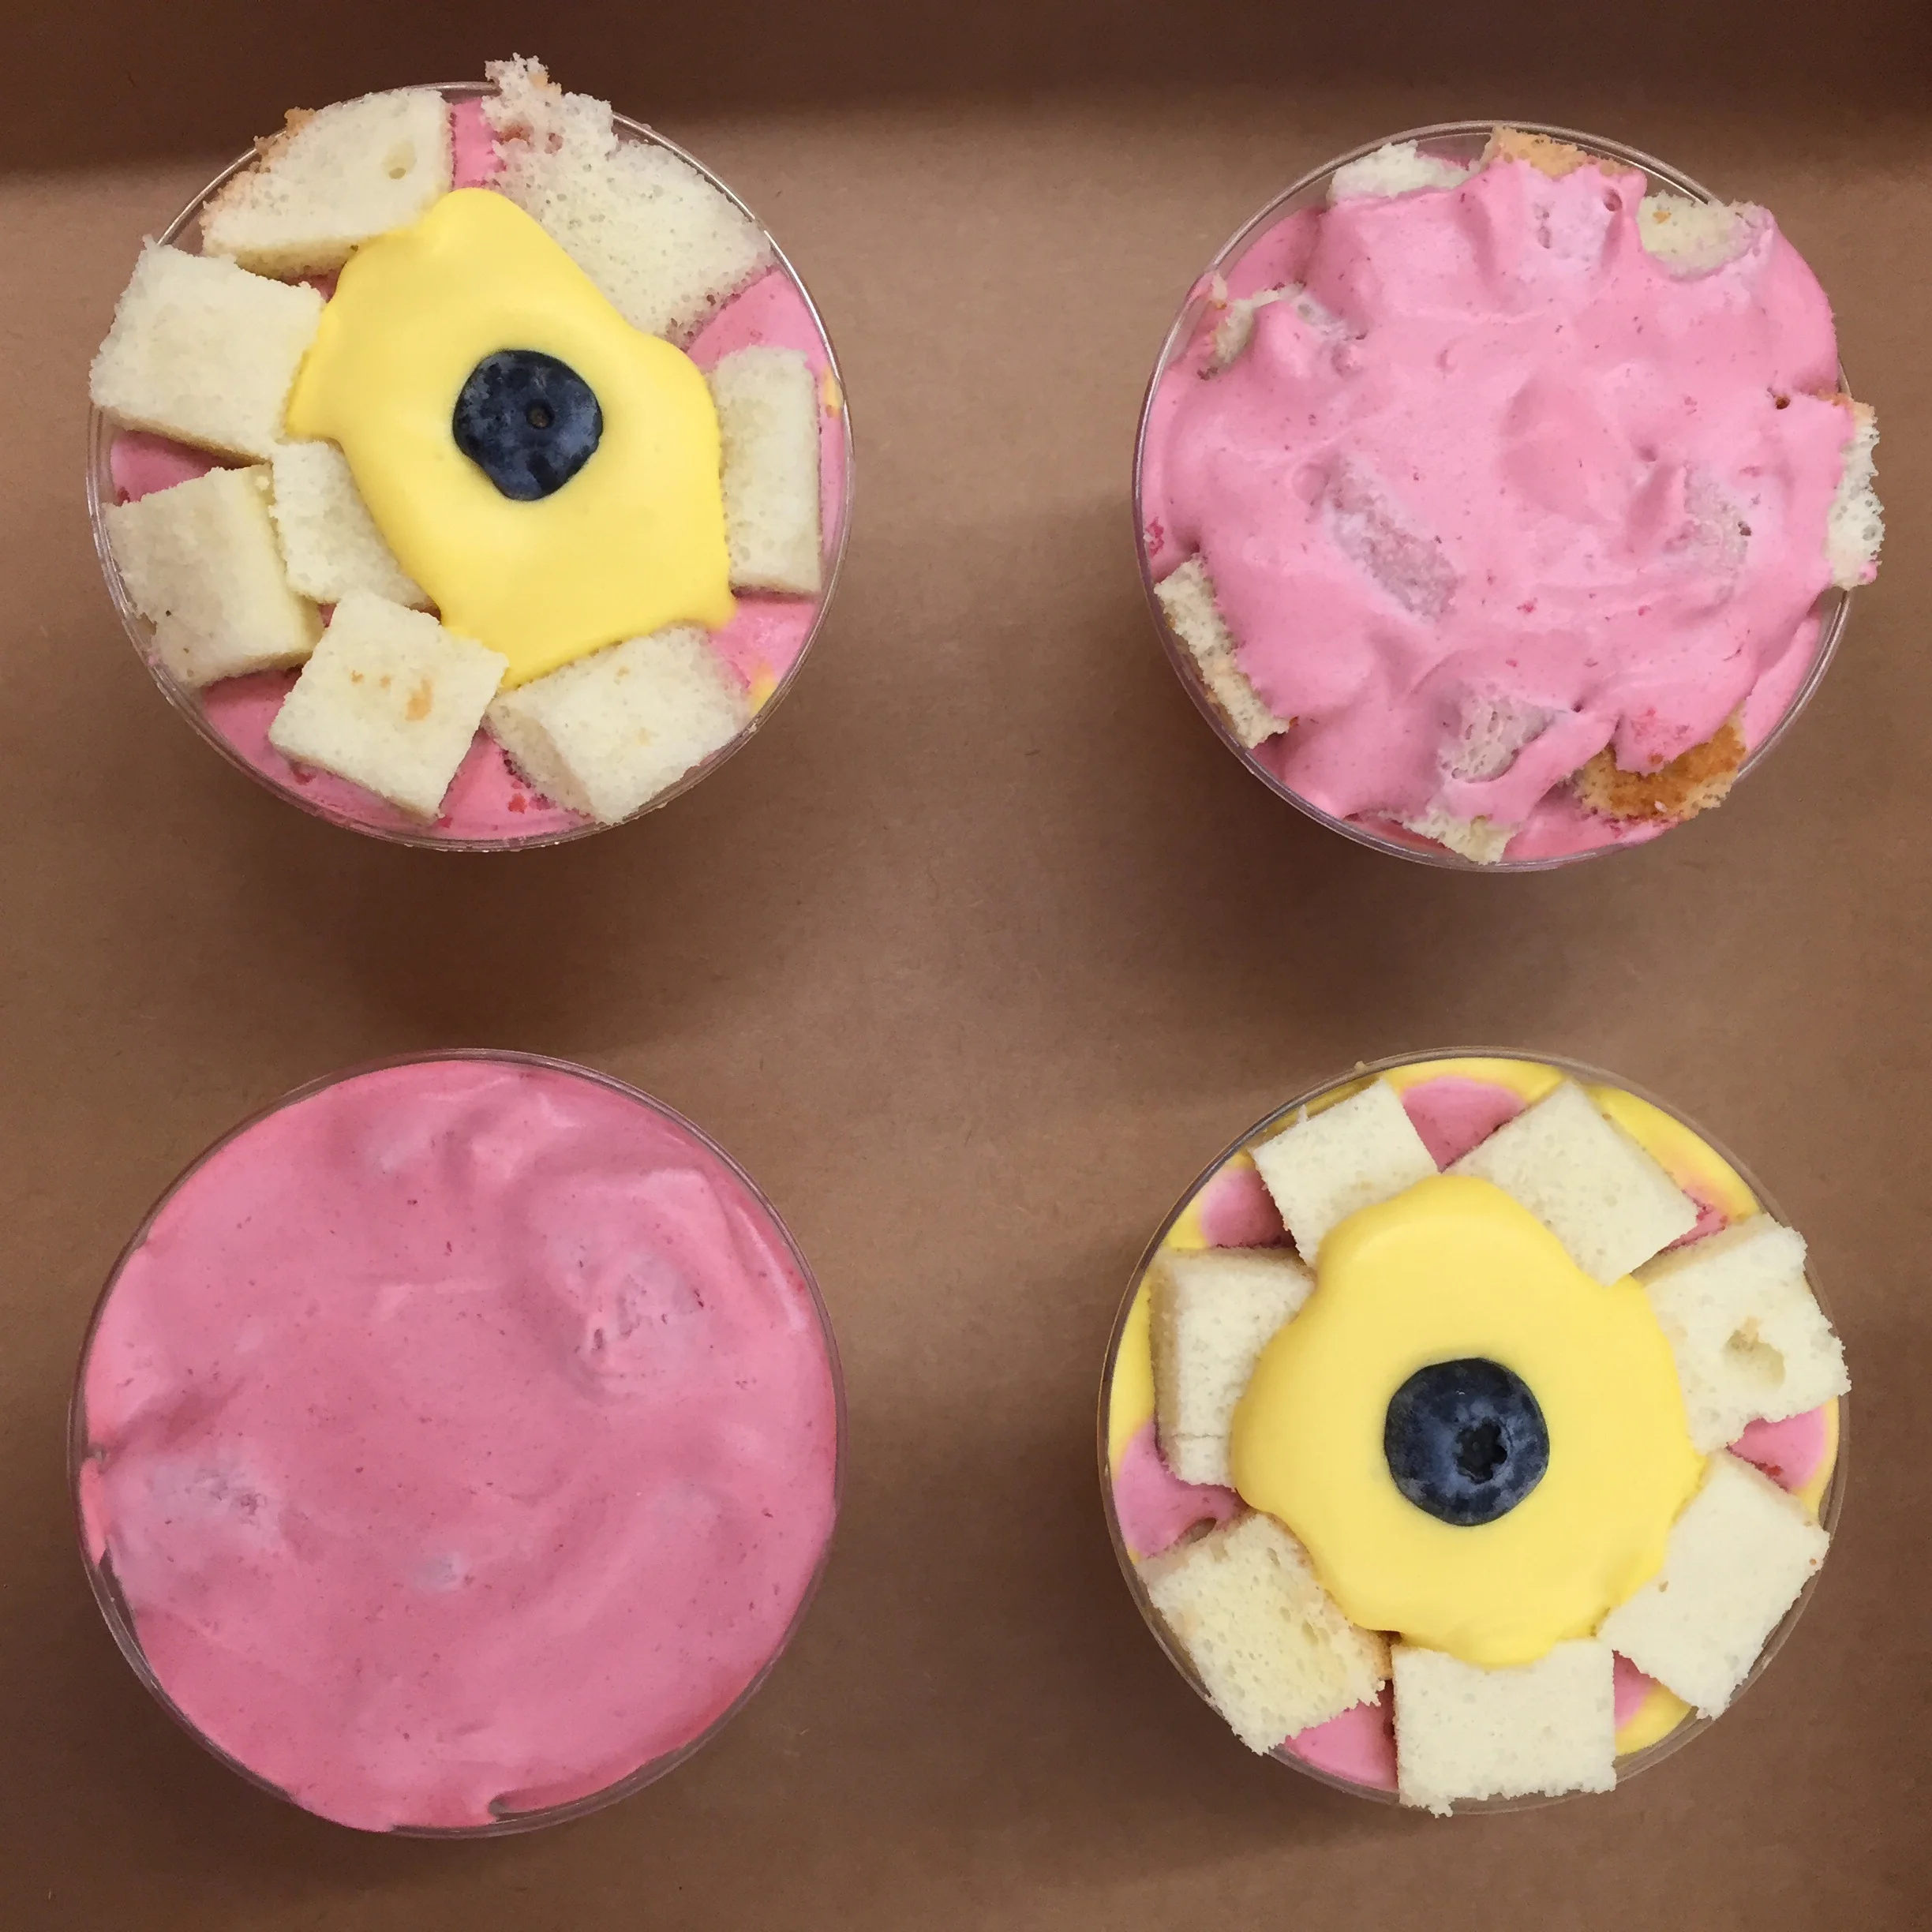
Our individual Bavarian parfaits - mine are the pink ones, Mom's are the pink and yellow ones (she wins the presentation points!)
While the parfaits chilled, it was time to move onto something chocolatey (yum!) - a Sacher (SOCK-er) torte. It's a traditional Viennese cake filled with apricot jam and covered in a chocolate glaze. Similar to the chiffon cake, we had a batter made with fat, butter, egg yolks, sugar and flour - and in this case, also chocolate - and then had a separate mixture of whipped egg whites and sugar. Again, this cake relied on leavening from the air in the creamed butter and sugar, the air in the sifted flour and the air in the whipped egg whites. Once the two mixtures were folded together, it was into the pan and then the oven to bake. We'll see those cakes again tomorrow for the final assembly.
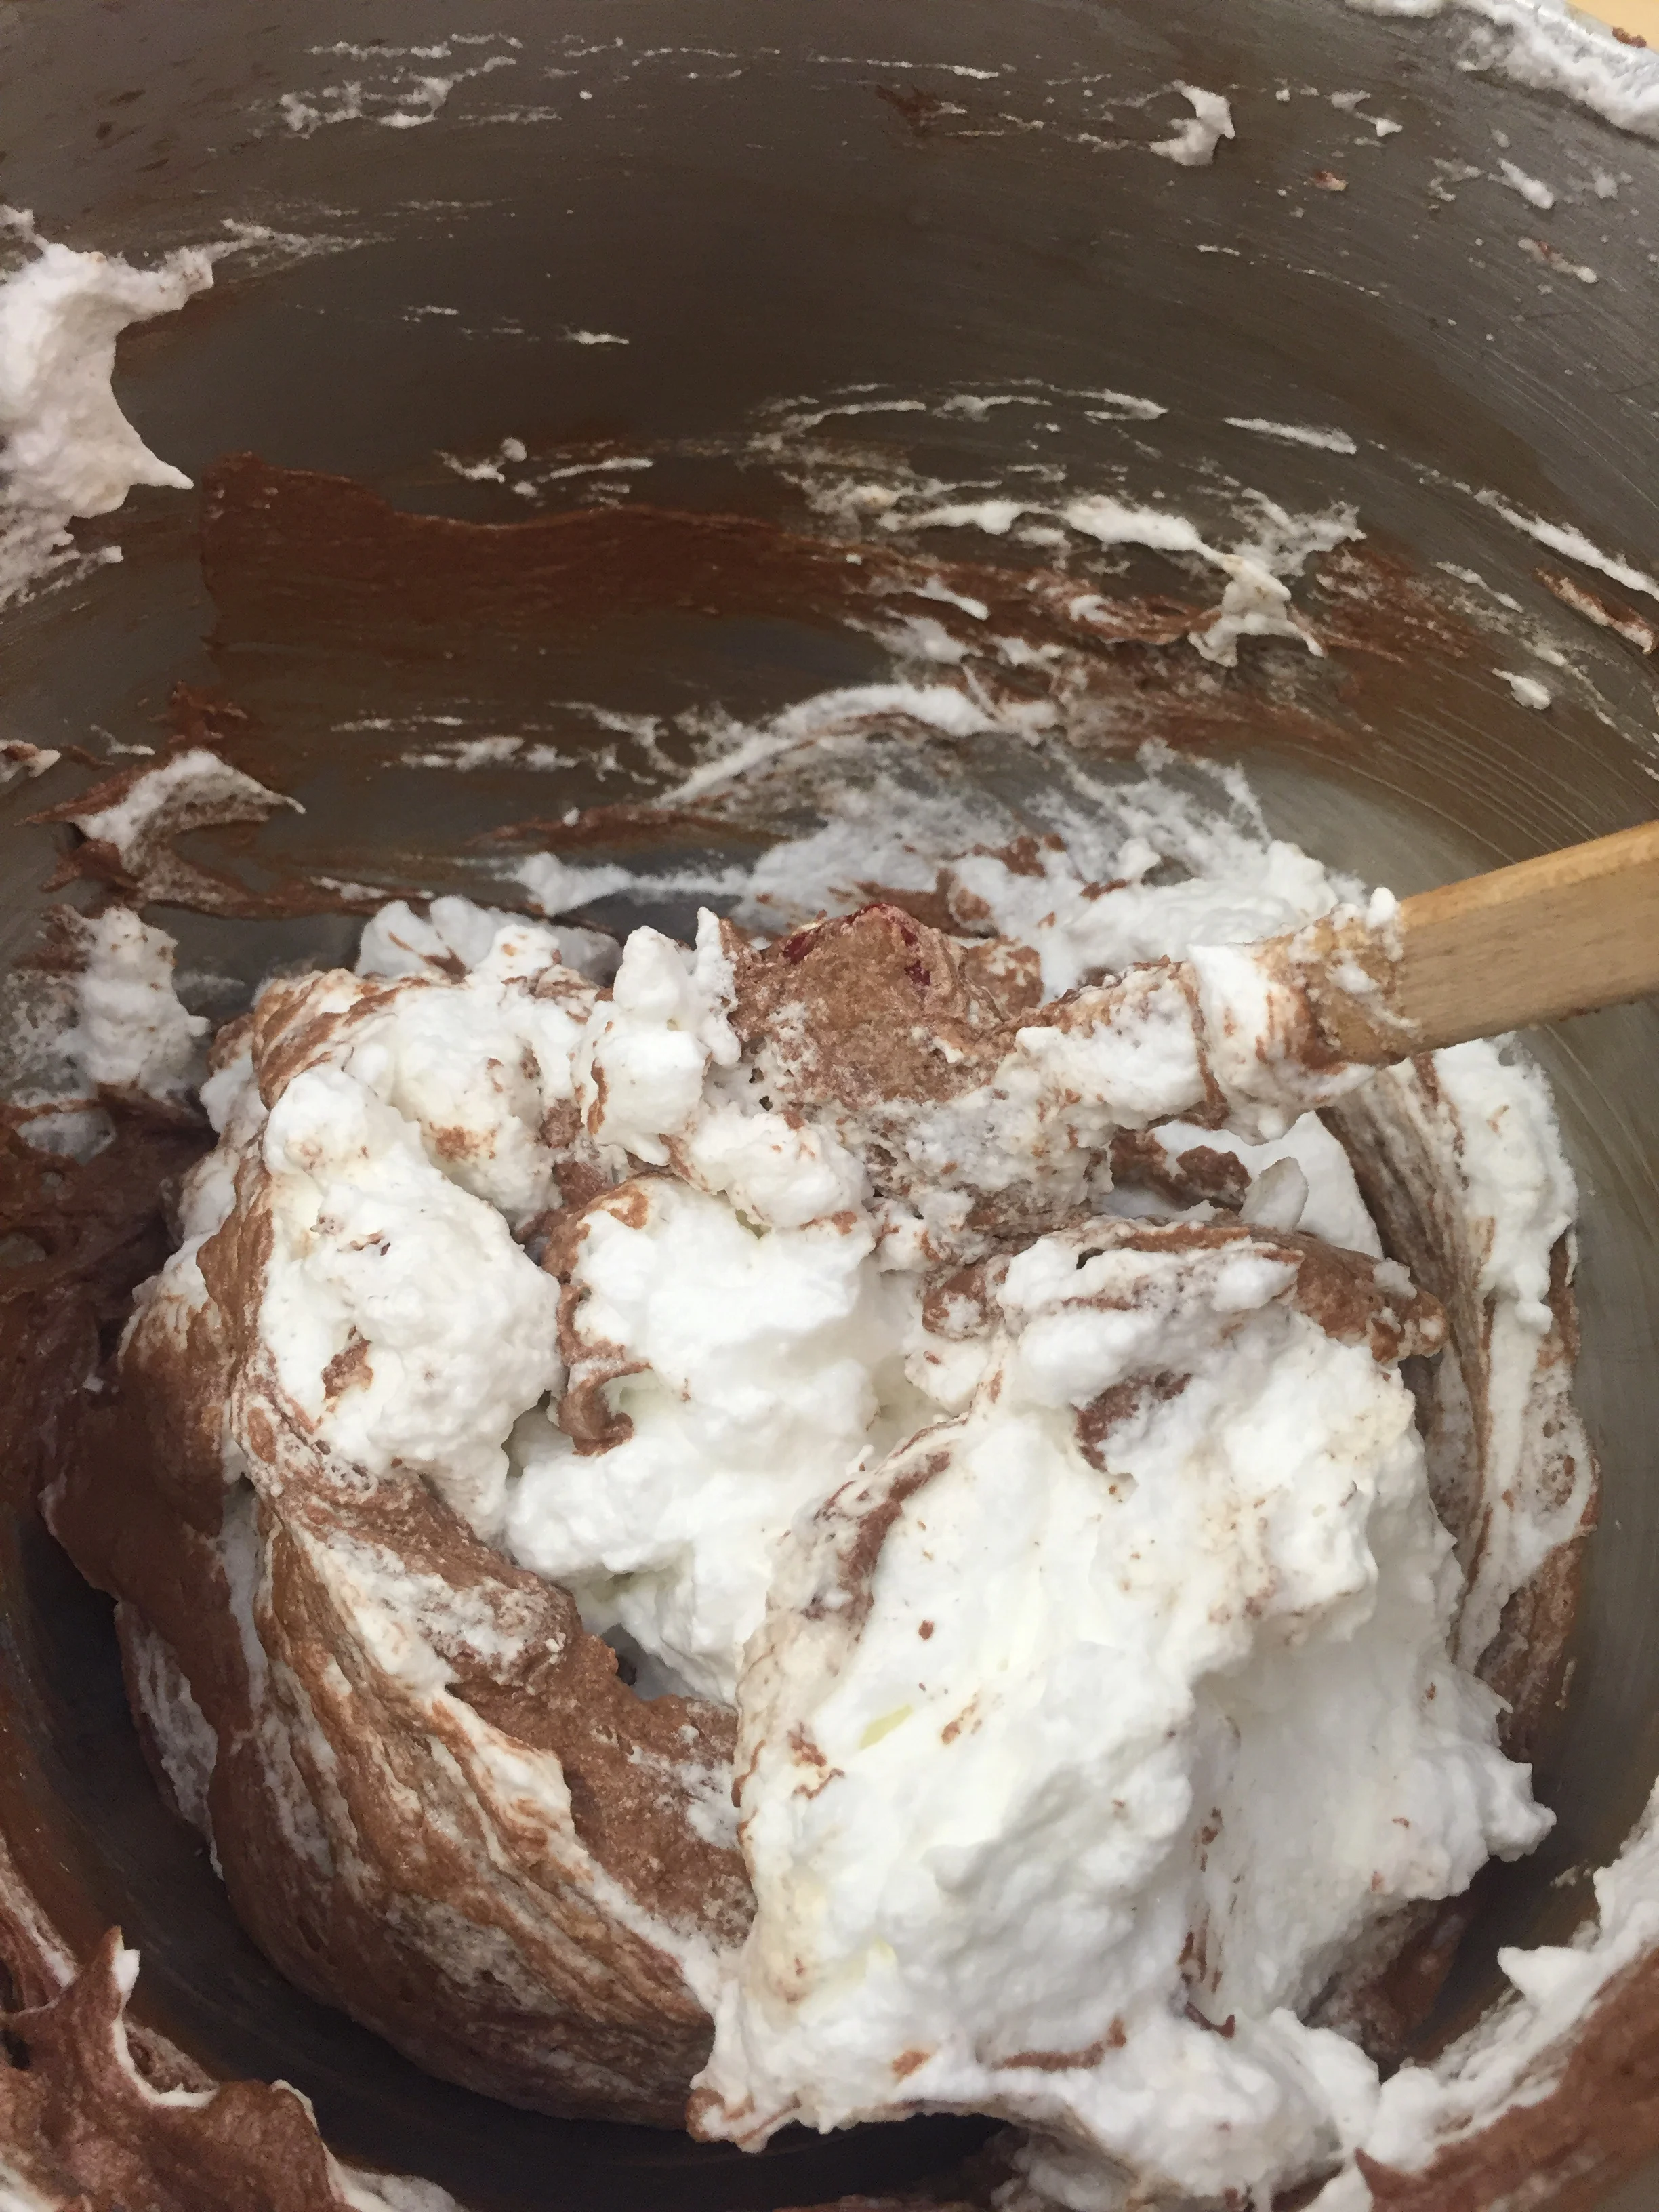
Folding the egg whites into the chocolate cake batter
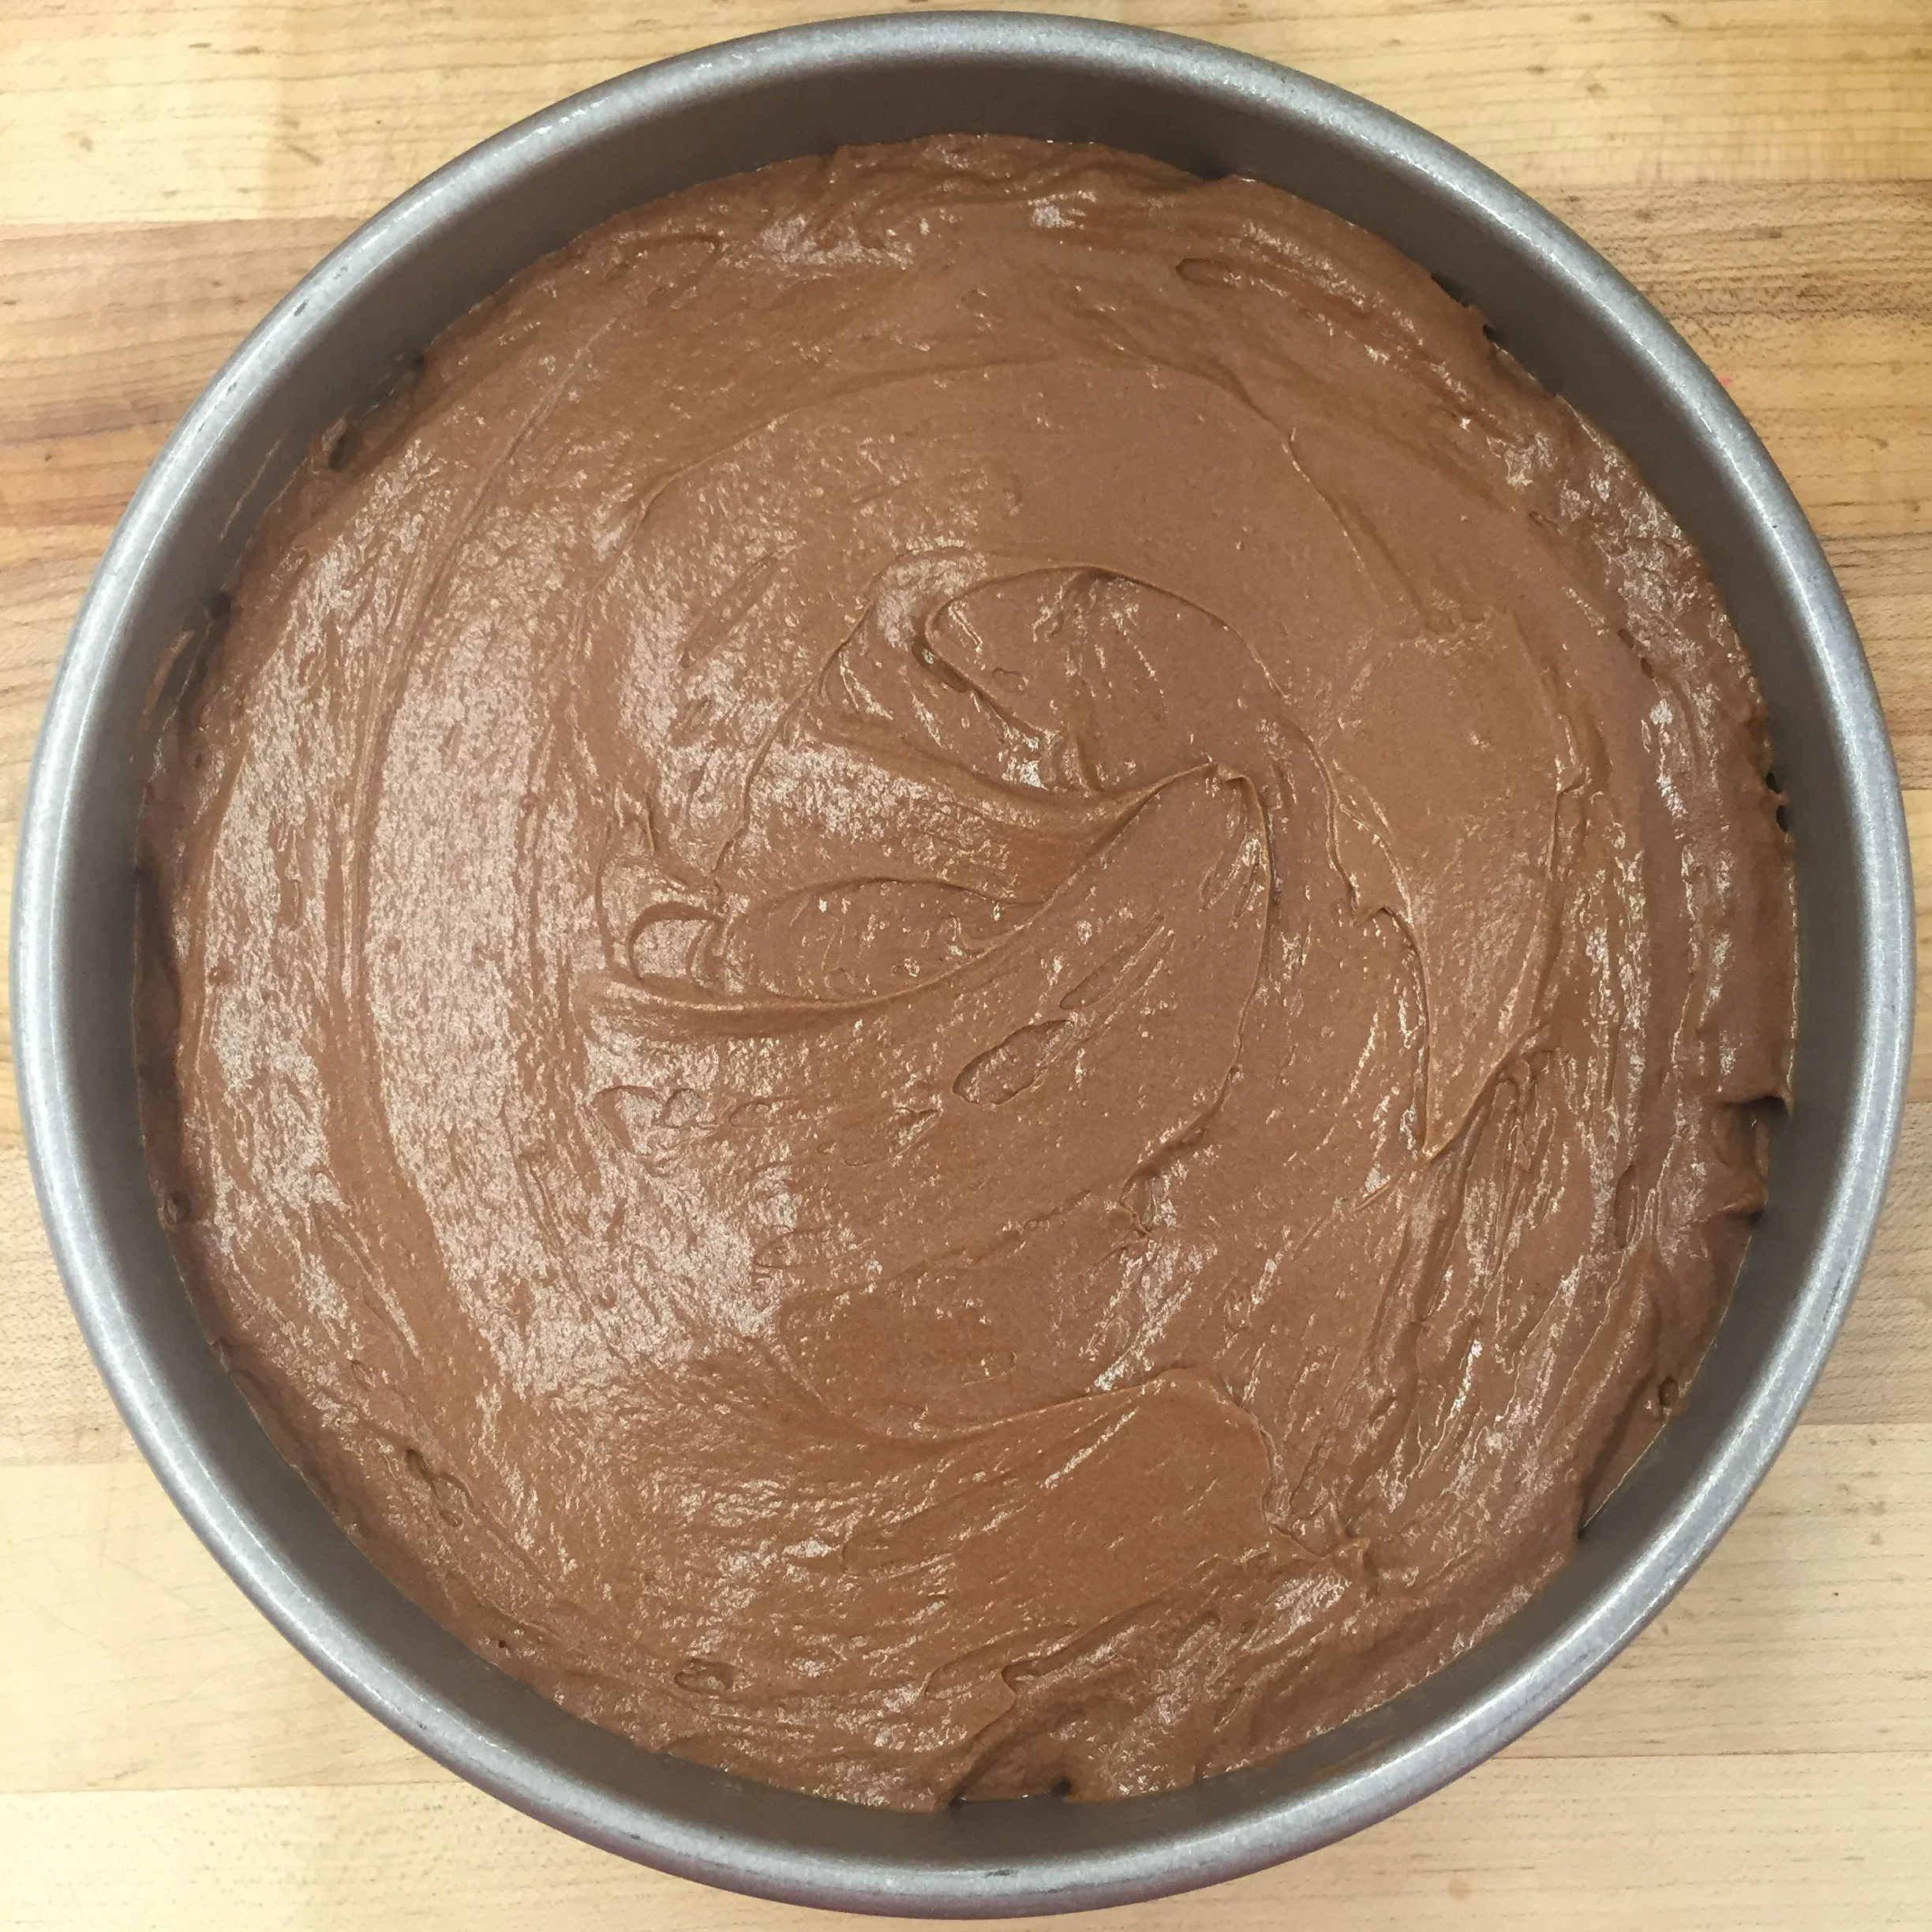
Sacher torte ready for baking

Lots of cakes ready for baking!
The last thing we did today was make the pastry cream for the Napoleon pastries we'll complete tomorrow (that's the treat that all this puff pastry work is building to). And speaking of, we had a bit more turning and folding of our puff pastry dough to do before the end of the day. We turned and folded our dough a few more times until we had a total of 289 layers (if we were to roll and fold it one more time, we'd have over 1,000 layers!).
But back to the pastry cream. This is a delicious cooked custard that is comprised of milk, sugar and eggs and is thickened with corn starch. We started by boiling milk and sugar together (by adding sugar to the milk, it helps keep it from scorching on the bottom of the pan). Meanwhile, whisked together cornstarch, sugar and salt and then added eggs. Once the milk was ready, we tempered the egg mixture by adding a little bit of the hot milk and stirring it and then adding the egg mixture to the rest of the hot milk. When eggs meet heat, they start to cook right away. So if we were to have poured all the egg mixture straight into the hot milk, we would have had a scrambled mess and there would be no way of correcting it. So adding a little bit of hot milk to the eggs, it eases them into the heat and keeps the overall mixture smooth. Then, while constantly stirring, we heated the pastry cream until it was boiling in order to activate the corn starch and its fullest thickening potential.

Fresh local milk for our pastry cream
Everything was going great until we tasted the cream - and it just wasn't right. We could really taste the corn starch in it (not pleasant) and were kind of bummed that we had gotten this wrong. Our instructor had enough extra ingredients for us to try again - so back to the beginning we went.
Since we were making a double batch of the pastry cream, we thought we had maybe measured the corn starch wrong (which was Mom's job). Turns out, we measured the milk wrong, using only the amount for a single batch - not a double. So we had half the liquid we needed - no wonder it tasted like corn starch! Well, measuring the milk had been MY job - so this mistake was squarely on my shoulders...oops! At least we were able to try again and get a MUCH more satisfactory result!

The BAD pastry cream on the left...the CORRECT pastry cream on the right
Tomorrow, we get to actually bake the puff pastry and assemble our Napoleons as well as finish making the Sacher tortes. Looking forward to sharing tomorrow's learnings with you! Here's to no more near-fiascos and accurate measuring!